
A wheelchair accessible kitchen sink is decided by the space around the bowl more than by the bowl itself. Bowl depth, the seated approach, the cabinet below, the faucet and the hot pipes all compete for the same few inches. Sink planning is one part of the overview of accessible kitchen design, and its margins are tight. The US knee clearance standard of 27 inches accommodates about 80% of measured wheelchair users’ knee heights1. This comparison works through each choice, then lists what a contractor and an accessibility professional must confirm for a specific home.
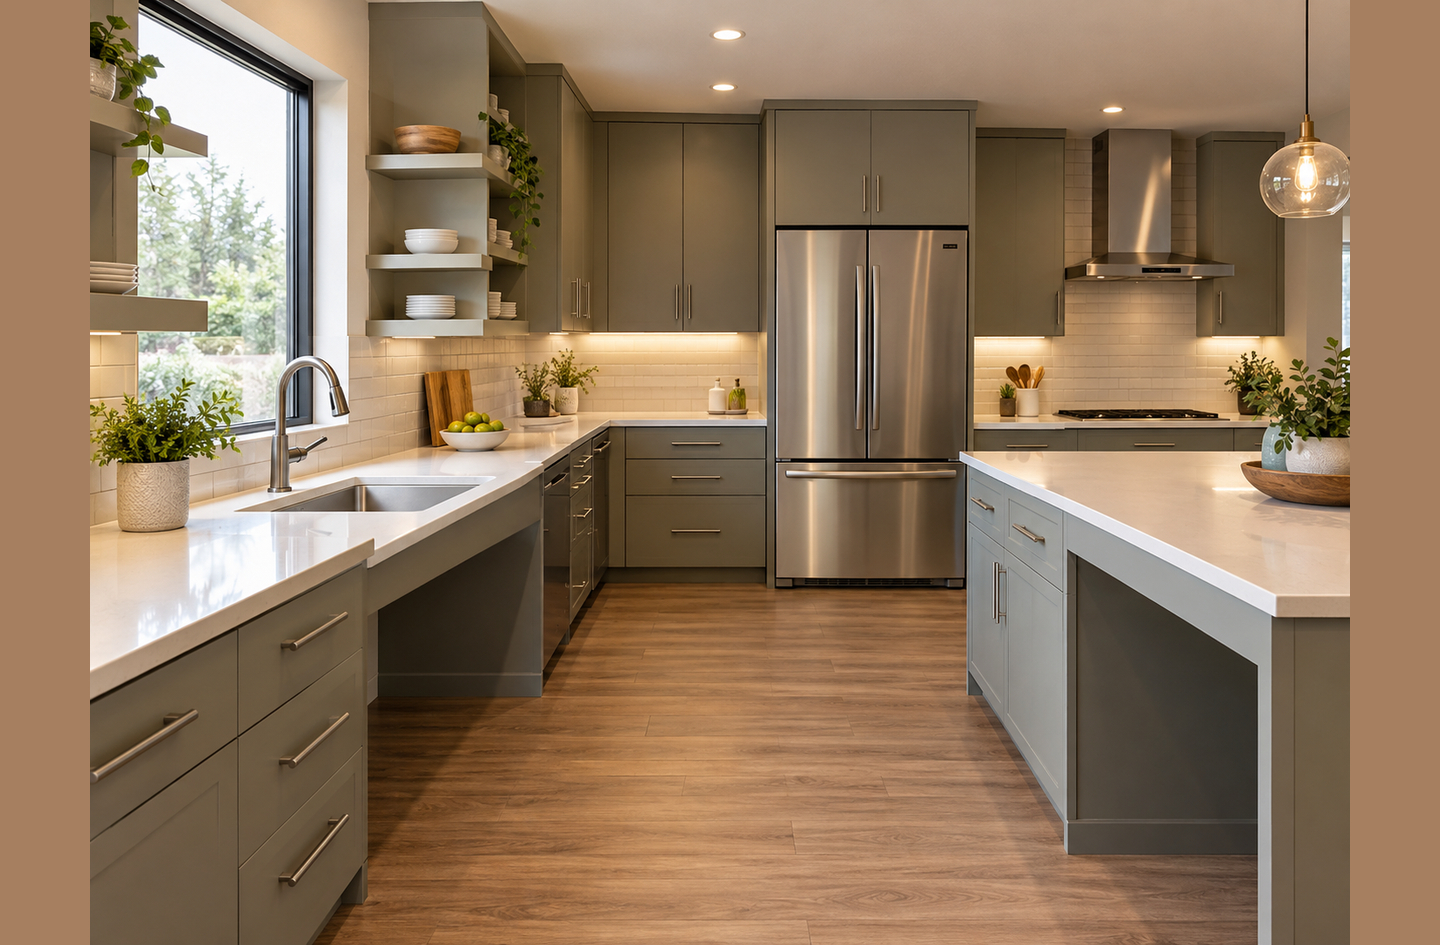
Quick Answer
Which wheelchair accessible kitchen sink setup works best?
For most homes, the strongest setup is a shallow bowl over open or removable-front knee space, with a single-lever faucet and shielded pipes. The numbers are tight. The 2010 ADA Standards cap the rim at 34 inches and define knee clearance up to 27 inches2. That leaves about seven inches for the bowl and its drain. A side approach is the fallback, and the standards permit it only where the kitchen space has no cooktop or range2.
Key Takeaways
- The 2010 ADA Standards limit the sink rim to 34 inches and define knee clearance from 9 to 27 inches above the floor2. That leaves the bowl and its drain about seven inches of height.
- The older federal UFAS kitchen rule capped bowl depth at 6.5 inches, applied to one bowl of a double sink. It also required any base cabinets under the full sink frontage to be removable3.
- A 30 by 48 inch clear floor space held only 49% of power chair users and 70% of manual chair users in a measurement study of 369 people4.
- Hot water ran above 120°F in 41% of 976 urban homes measured7. Exposed supply and drain lines under the bowl need insulation or a shield.
- A common misconception is that removing the sink cabinet makes the sink accessible. Bowl depth, drain position, faucet reach and pipe protection decide whether knees, hands and skin are actually accommodated.
Wheelchair Accessible Kitchen Sink Configurations at a Glance
Five sink configurations cover most kitchens. They differ in how a seated user approaches the bowl and in what happens to the space beneath it. The 2010 ADA Standards require a forward approach with knee and toe clearance at sinks, with a few narrow exceptions2. A roll-under sink is a sink with open space beneath the bowl, so a seated user’s knees and footrests can slide under the front edge. Every option in the table is a different answer to one question: when does that knee space exist?
| Configuration | Approach | Knee space | Storage under the bowl | Pipe protection | Best fit |
|---|---|---|---|---|---|
| Open roll-under sink | Forward | Permanent | None | Insulation wraps or a fixed shield panel | Daily seated use |
| Removable base cabinet | Forward, once the cabinet is out | On demand | Kept until the cabinet is removed | Needed from the day the cabinet comes out | Planning ahead; mixed households |
| Fold-back door cabinet | Forward, with doors pushed back | When the doors are open | Little or none | Shield panel behind the doors | Shared kitchens where a closed look matters |
| Height-adjustable sink | Forward, at a chosen height | Varies with the setting | None in the moving zone | Flexible lines, shielded | Standing and seated cooks in one home |
| Standard cabinet, side approach | Parallel | None | Full | Enclosed by the cabinet | Spaces with no cooktop or range; interim use |
The configuration decision is really a timing decision about knee space: always, on demand, or never. For a household planning ahead, a removable base cabinet with the right plumbing rough-in delivers most of the benefit today without giving up storage.
Basin Depth: Shallow Bowl vs Standard Bowl
A shallow bowl wins on knee clearance, because every inch of bowl depth comes straight out of the space under the sink. Under the 2010 ADA Standards, the front of the rim sits at 34 inches maximum, and knee clearance runs up to 27 inches above the floor2. That leaves a height budget of about seven inches for the bowl, its bottom and the drain fitting together. The 34 inches is measured to the higher of the rim or the counter surface, so an undermount bowl also loses the counter thickness from that budget2.
Bowl depth is the vertical distance from the rim to the bottom of the basin at the drain. The older federal UFAS rule made the budget explicit for residential kitchens. It capped bowl depth at 6.5 inches and required only one bowl of a double or triple sink to meet that limit. It also limited counter thickness and supporting structure to 2 inches over the clear space3.
The 2010 ADA Standards no longer state a bowl depth, but they keep the 34-inch rim and the 27-inch knee clearance, so the same arithmetic still governs. They also let the dip of the overflow be ignored when knee clearance is measured, and they require knee clearance under only one bowl of a multi-bowl sink2. That second rule makes a double sink with one shallow bowl a practical compromise for a household that also needs a deep basin.
Measured users need slightly more room than the standard gives. The Anthropometry of Wheeled Mobility (AWM) study recommends a knee clearance height of 28 inches to accommodate 95% of its sample1. Holding the rim at 34 inches, that target leaves six inches for the bowl and the drain, not seven.
The drain is where many shallow sinks lose their advantage. A center drain hangs its strainer body and tailpiece directly over the knees. A rear-offset drain moves the outlet toward the wall. The ADA knee space only has to be 8 inches deep at the 27-inch level and 11 inches deep at the 9-inch level2. Behind that depth, the trap can sit beyond the knees instead of over them.
A standard-depth bowl still wins for a cook who stands, fills tall stockpots or washes large roasting pans. In a home where one person sits and another stands, that is a real trade-off rather than a mistake.
Verdict: a shallow bowl with a rear-offset drain is the stronger choice wherever a seated user does the daily washing up. Measure the full stack from rim to the lowest drain part, not only the bowl depth printed on the box.
Approach: Forward Roll-Under vs Parallel Approach
A forward approach wins, because it lets a seated user face the bowl with both hands centered over the water. The 2010 ADA Standards require a forward approach with knee and toe clearance at sinks. They permit a parallel approach at a kitchen sink only in a space without a cooktop or conventional range2.
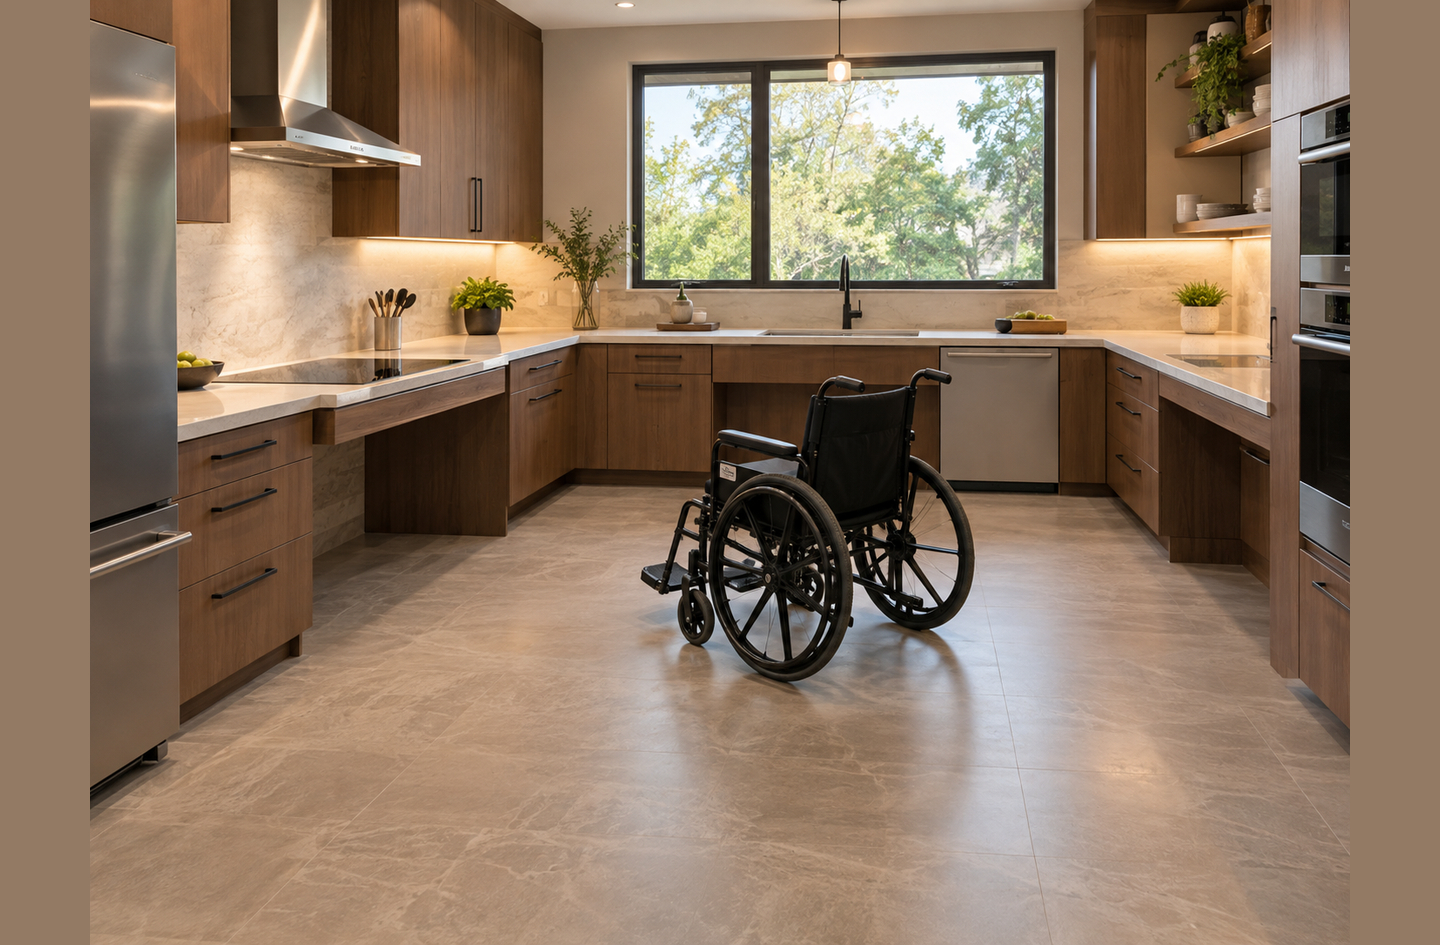
A parallel approach is a side-on position, with the wheelchair alongside the cabinet and the user reaching sideways and down into the bowl. Clear floor space is the open rectangle of floor that a wheelchair occupies in front of a fixture. The ADA sets it at 30 by 48 inches minimum, and it may include the knee and toe space under the sink2.
That minimum is smaller than many users need. In a study of 369 wheeled mobility users, the 30 by 48 inch rectangle held about 70% of manual chair users. It held 49% of power chair users and 54% of scooter users4. For 95% accommodation, the Anthropometry of Wheeled Mobility report suggests a clear floor area of 33 by 56 inches for powered chairs1. To accommodate most power chair users, keep that longer rectangle free of a dishwasher door, an island corner or a trash pull-out.
Depth under the sink matters as much as floor area. The US minimum knee depth of 11 inches accommodated just over 50% of the study sample. For close to 95% of manual and power chair users, the authors put the depth needed at over 16 inches1. The same knee and toe space logic applies at the counter beside the sink, which the guide to counter height and knee space works through in detail.
A parallel approach still has a place. The ADA permits a side approach at a sink in a space without a cooktop or range, and at wet bars2. It suits a user who can reach sideways and down into the bowl comfortably. It also works as a stop-gap while a remodel is planned, as long as the turning space around the sink stays open. Turning space and the wider room layout are covered in the wheelchair kitchen design guide.
Verdict: plan for a forward approach and size the floor space to the actual chair, not to the 30 by 48 inch minimum. Treat the side approach as a fallback for spaces without cooking appliances.
Under-Sink Cabinet: Open, Removable, or Fold-Back Doors
A removable base cabinet wins for most homes, because it keeps storage now and becomes knee space later without moving the sink. In residential dwelling units, the 2010 ADA Standards allow cabinetry under a kitchen sink when three conditions are all met2:
- The cabinet can be removed without removing or replacing the sink.
- The finish floor extends under the cabinet.
- The walls behind and around the cabinet are finished.
A removable base cabinet is a sink base built to come out as a unit, leaving a finished, open knee space behind it. The older UFAS rule described the same idea in more detail. It called for base cabinets removable under the full 30-inch minimum frontage of the sink and counter, with finished flooring running under the counter to the wall3.
The test that matters is what holds the counter and the sink once the cabinet is gone. The countertop, sink brackets or a support rail must carry the full load on their own, and the sink must stay connected to its plumbing. If the cabinet sides are what support the counter today, the cabinet is not removable in any useful sense.
An open roll-under sink is simpler to use every day and harder to live with visually. It exposes the plumbing, so the pipes need wraps or a shield panel, and it gives up the storage under the bowl. Fold-back or pocket doors sit in between. The doors slide back into the cabinet sides, but those sides still have to clear the knee width, which the ADA sets at 30 inches minimum2. A narrow sink base seldom leaves that width once the door hardware is in place.
Removing the sink base also moves the storage problem upward. Cleaning supplies, the dish rack and spare sponges need a new home within seated reach. Upper cabinets over a counter are a poor substitute unless their shelves come down to the user. A Swiss survey of people with spinal cord injury found the highest unmet need for adjustable kitchen worktops (78.7% of those with a need) and adjustable cabinets (75.7%)5. Options for bringing that storage within reach are compared in the guide to reachable kitchen storage.
Verdict: a removable base cabinet is the strongest default, as long as the counter is supported independently and the floor and walls behind it are finished. Choose open knee space when a seated user works at the sink every day.
Faucet Access: Lever, Single-Handle, or Touch Control
A single-lever faucet placed toward the user’s side wins, because it can be worked with one hand from a seated position. The 2010 ADA Standards require faucet controls that work with one hand and do not need tight grasping, pinching or twisting of the wrist. Activation force is capped at 5 pounds2.
Reach is the second test. Where a seated user reaches over a counter deeper than 20 inches, the high forward reach limit is 44 inches. The reach depth may not exceed 25 inches2. A faucet at the back of a deep sink can fall outside that envelope, even when its handle is easy to move.
Hand strength is the third. In the Framingham Study, symptomatic hand osteoarthritis affected 26.2% of women and 13.4% of men aged 71 to 100. People with the condition had 10% lower maximal grip strength6. Round knobs that need a grip and a twist ask for exactly the motion the ADA rules out.
A touch faucet is a faucet that starts and stops the water when the user taps the spout or passes a hand near a sensor. It removes the grip question, but it adds a power supply under the sink, and the water temperature still has to be set somewhere. The older UFAS rule listed lever-operated, push-type, touch-type and electronically controlled mechanisms as acceptable designs3. A pull-down spray head shortens the reach to the far corners of the bowl and to pots resting on the counter.
Verdict: choose a single lever or a touch control at the front corner or side of the sink. Test it from the seat before the counter is cut.
Under-Sink Plumbing: Insulated Wraps vs an Enclosure Panel
A rigid enclosure panel wins over wraps alone for daily seated use, because it protects against both heat and impact. The 2010 ADA Standards require water supply and drain pipes under sinks to be insulated or otherwise configured to protect against contact. They also rule out sharp or abrasive surfaces under the sink2.
Accessible kitchen sink plumbing refers to supply lines, the drain, the trap and appliance connections kept out of the knee space or behind a barrier. The reason is heat and time. Hot water at 140°F can cause a serious burn within 3 seconds, while at 120°F a serious burn takes about 10 minutes7. The same paper measured 976 urban homes and found hot water at an unsafe temperature in 41% of them7.
“Our results suggest that hot water temperatures remain dangerously high for a substantial proportion of urban homes despite the adoption of voluntary standards to preset temperature settings by manufacturers.”
Wendy C. Shields and colleagues, Johns Hopkins Center for Injury Research and Policy7
Reduced sensation raises the stakes. Benjamin and colleagues described a burn from a heated car seat in a man with paraplegia. They noted that the potential for harm is considerably increased in people with impaired sensation8. A bare supply line carries hot water to within inches of the knees, and a user who cannot feel it cannot move away from it.
Wraps are the low-cost layer: foam or molded covers over the hot supply, the tailpiece and the trap. A shield panel is a removable board or fabricated cover in front of the plumbing that keeps knees and footrests off every pipe, valve and sharp edge. The two work well together, and the panel must still come off for service. A garbage disposal hangs below the bowl and takes height from the same seven-inch budget.
Pipe protection does not lower the water temperature itself. The study authors pointed to thermostatic mixing valves as a prevention strategy that holds outlet water at a safer temperature7. Whether one belongs at the water heater or under this sink is a question for a licensed plumber.
Verdict: insulate the hot supply and the drain, then add a removable shield panel wherever a seated user works daily. Treat water temperature as a separate decision, made with the plumber.
Sink Height: Fixed at 34 Inches vs Adjustable
A fixed sink at 34 inches wins on cost and simplicity, and an adjustable sink wins when standing and seated users share the kitchen. The 2010 ADA Standards set 34 inches as the maximum rim height. In residential kitchens they also allow sinks adjustable from 29 to 36 inches, where the rough-in plumbing permits a sink mounted at 29 inches2.
Rough-in plumbing is the supply and drain piping set inside the wall before the cabinets and fixtures go in. The older UFAS rule offered alternative heights of 28, 32 and 36 inches, and it required a rough-in that accepts a sink at 28 inches3. That detail is the inexpensive part to get right during a remodel. A drain outlet set low in the wall keeps a lower or adjustable sink possible later.
“The results clearly provide evidence that adjustable and adaptable counters are a valuable design strategy.”
Edward Steinfeld and colleagues, Anthropometry of Wheeled Mobility Project, University at Buffalo1
Adjustable sinks bring their own engineering. Supply and drain lines must flex through the full travel, a powered lift needs an outlet, and the knee space must stay clear at every setting. Whether a lift needs a new circuit is an electrician’s decision, and the lift’s travel range should be checked against the person’s seated knee height.
Verdict: a fixed 34-inch sink with a low drain rough-in is the practical default. Choose an adjustable sink when two people with very different working heights use it every day.
What a Contractor and Accessibility Professional Must Confirm
General guidance can narrow the options, but only someone who sees the home and the person can settle them. Home Age Fit provides engineering-informed education here, not a design, an inspection or occupational therapy advice. Prepare the questions before hiring the professional, and split them by who can answer them.
For the licensed contractor and plumber
These questions concern structure, plumbing and power, which depend on the specific walls, floor and fixtures in the home.
- Can the countertop and sink be supported once the base cabinet is removed, and by what?
- Where can the drain outlet sit in the wall, and will it accept a lower or adjustable sink later?
- Is a rear-offset drain available for the chosen bowl, and where is the lowest point of the drain assembly?
- Does the finished floor run under the cabinet to the wall?
- How will the hot supply, the trap and any disposal be insulated or shielded?
- Is a thermostatic mixing valve needed, and where should it go?
- Does a powered lift or touch faucet need a new circuit?
For the occupational therapist or accessibility specialist
These questions concern the person, so they are best answered with the person seated in their own chair.
- What knee clearance height and depth does this chair actually need?
- Is a forward approach realistic, or does the person work better from the side?
- Can the person reach and operate the faucet from the seat, with the hand they use most?
- Does reduced sensation in the legs change how much pipe protection is needed?
- Who else uses the sink, and at what height do they work?
If you are planning for yourself, take your own measurements from your chair before the first visit. If you are helping a parent plan, bring both lists and let your parent answer the reach and approach questions from their own seat. The accessible kitchen design checklist covers the rest of the room in the same order.
Who Should Choose Which Sink Setup
If a seated user washes up every day, choose an open roll-under sink or a removable base with shielded pipes. If nobody sits today, choose a removable base and a low rough-in, so the change is easy later. Even among wheelchair users, an accessible sink is far from universal. In a 2012 Swiss survey of people with spinal cord injury, 42.7% of wheelchair users had one, against 10.6% of those who walked indoors5.
The daily seated cook: a shallow bowl, a rear-offset drain, open or removable knee space, a lever faucet at the side and a shield panel over the pipes.
A mixed household: a double sink with one shallow bowl over knee space, or an adjustable sink where both users work at it every day.
The proactive planner: keep the cabinet for now, but specify a removable base, a finished floor beneath it and a low drain rough-in during the remodel.
An interim plan: a side approach, a lever faucet and pipe wraps, in a space without a range and with the owner’s agreement for a rental.
Among survey respondents who needed an accessible sink, 29.7% did not have one5. When a person’s chair, reach or transfer needs are still changing, the occupational therapist’s assessment comes first, and the sink decision follows it.
Verdict: Category Winners
| Category | Winner | When the other option wins |
|---|---|---|
| Basin depth | Shallow bowl with a rear-offset drain | Standing cooks who need a deep basin |
| Approach | Forward roll-under | Spaces without a cooktop or range |
| Under-sink cabinet | Removable base cabinet | Daily seated use, where open knee space is simpler |
| Faucet | Single lever or touch control at the side | Two-handle sets that pass a seated reach test |
| Plumbing | Shield panel plus insulated lines | Wraps alone where a panel cannot fit |
| Height | Fixed 34 inches with a low rough-in | Adjustable, where standing and seated users share |
| Overall | Removable base, shallow bowl, lever faucet, shielded pipes | Open roll-under for a full-time seated user |
The removable base with a shallow bowl, a single-lever faucet and shielded plumbing is the strongest overall default. It serves a standing user today and a seated user later, without moving the sink or the drain.
Frequently Asked Questions
How deep should a wheelchair accessible kitchen sink be?
Shallow enough that the bowl and the drain fit inside about seven inches. The 2010 ADA Standards pair a 34-inch maximum rim with knee clearance up to 27 inches2, and the older UFAS rule capped bowl depth at 6.5 inches3. A rear-offset drain keeps the lowest pipe parts away from the knees.
Can a kitchen sink cabinet be removed later for wheelchair access?
Yes, when it is built for removal. The 2010 ADA Standards allow a residential sink cabinet that comes out without removing the sink, over a finished floor and in front of finished walls2. The countertop also needs its own support once the cabinet is gone.
What faucet works best for a wheelchair user?
A single lever or a touch control at the side or front corner of the sink. The ADA requires one-handed controls that need no tight grasping or wrist twisting, with 5 pounds of force at most2. Placement matters as much as type, because a seated reach over a deep counter is limited.
Why do pipes under an accessible sink need insulation?
Knees and legs sit right next to them, and some users cannot feel heat. Hot water at 140°F can cause a serious burn within 3 seconds7. The ADA requires pipes to be insulated or otherwise configured to protect against contact, with no sharp surfaces under the sink2.
References
Methodology: every figure in this article comes from an independent published source and links to the page that carries it. The height-budget chart is a Home Age Fit synthesis of those sources, written by the founder. The article is engineering-informed education, not plumbing, design or occupational-therapy advice.
- University at Buffalo IDeA Center – Steinfeld E, Paquet V, D’Souza C, Joseph C, Maisel J. Anthropometry of Wheeled Mobility Project: Final Report, prepared for the U.S. Access Board, December 31, 2010.
- U.S. Access Board – 2010 ADA Standards for Accessible Design, sections 305, 306, 308, 309, 606 and 804.
- U.S. Access Board (UFAS) – Uniform Federal Accessibility Standards, sections 4.24 Sinks and 4.34.6.5 Sink, 1984.
- Transportation Research Record – D’Souza C, Steinfeld E, Paquet V, Feathers D. Space Requirements for Wheeled Mobility Devices in Public Transportation: An Analysis of Clear Floor Space Requirements. 2010;2145:66-71.
- The Journal of Spinal Cord Medicine – Hertig-Godeschalk A, Gemperli A, Arnet U, Hinrichs T. Availability and need of home adaptations for personal mobility among individuals with spinal cord injury. 2018;41(1):91-101, published online March 30, 2017; Swiss Spinal Cord Injury Community Survey 2012 data.
- American Journal of Epidemiology – Zhang Y, Niu J, Kelly-Hayes M, Chaisson CE, Aliabadi P, Felson DT. Prevalence of symptomatic hand osteoarthritis and its impact on functional status among the elderly: The Framingham Study. 2002;156(11):1021-1027.
- Journal of Burn Care and Research – Shields WC, McDonald E, Frattaroli S, Perry EC, Zhu J, Gielen AC. Still too hot: examination of water temperature and water heater characteristics 24 years after manufacturers adopt voluntary temperature setting. 2013;34(2):281-287.
- The Journal of Spinal Cord Medicine – Benjamin C, Gittler M, Lee R. Burn from car seat heater in a man with paraplegia: case report. 2011;34(3):332-334.
Conclusion
A wheelchair accessible kitchen sink works when the whole stack fits the seated body. That means a shallow bowl with a rear-offset drain, knee space that exists when it is needed, a lever within reach and pipes shielded from contact with skin. The seven-inch budget under a 34-inch rim ties those choices together. Storage moved out from under the sink belongs within seated reach, not on a high wall shelf.
Specific choices about support, plumbing and a person’s reach belong with the person, the family and the professionals who can see the home. Observation, not renovation, comes first. For how sink planning fits the wider room, see the overview of accessible kitchen design.