
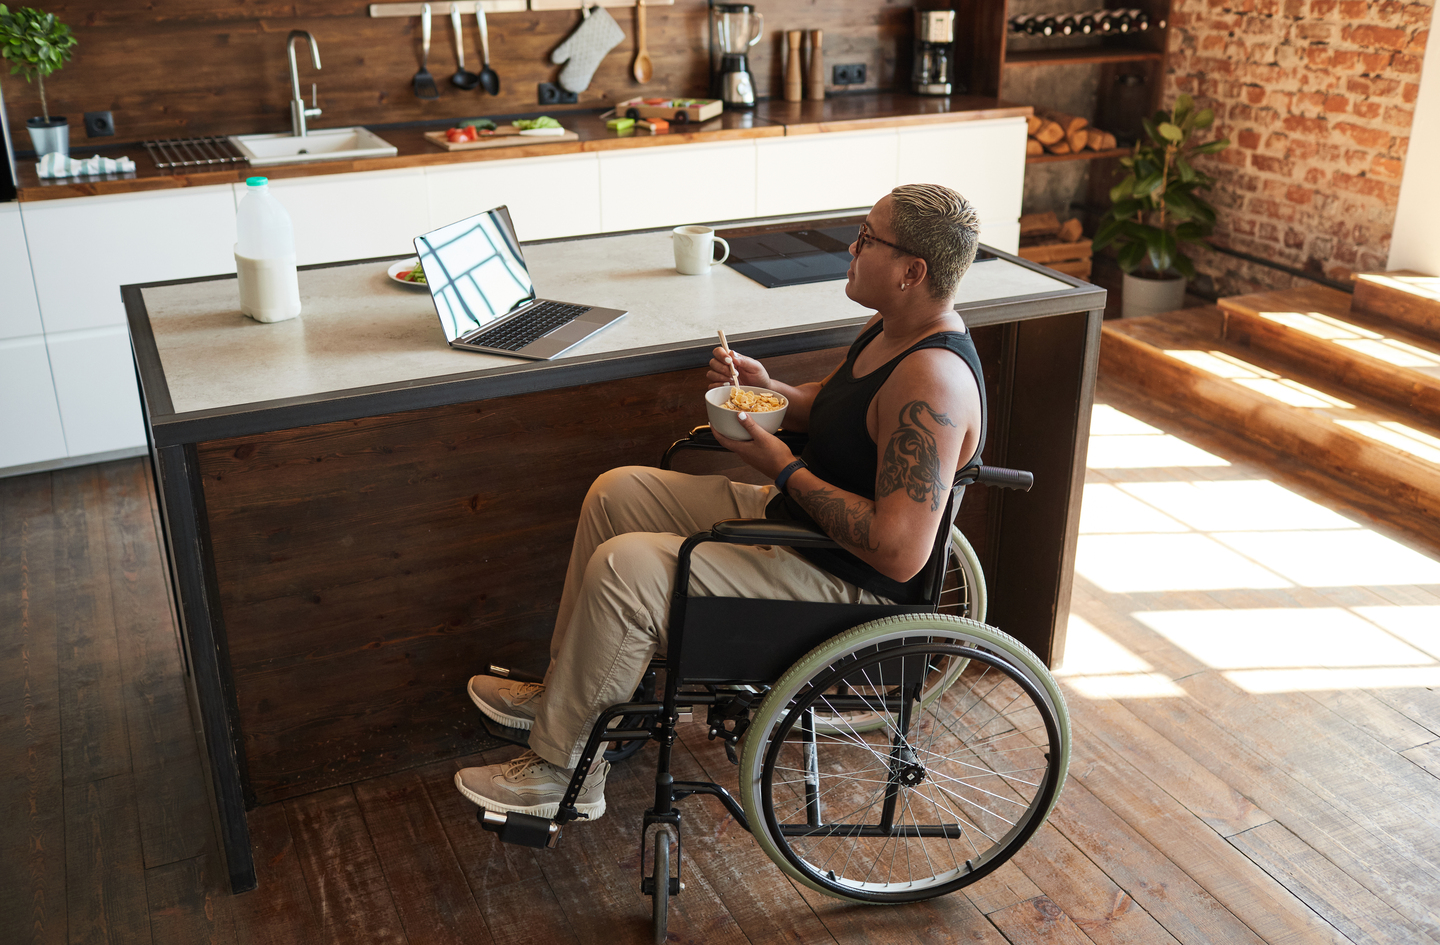
A wheelchair accessible kitchen works when a seated cook can reach, see, and operate every part of a meal without stretching across heat. The need is common: about 5.5 million US adults used a wheelchair in 2014.1 This guide is one focused angle under our accessible kitchen design overview, which summarizes how to make daily cooking easier at home. Here the angle is the planning order for a seated cook: floor space first, then counters, the sink, storage, appliances, and seating.
Quick Answer
How do you plan a wheelchair accessible kitchen?
Plan the floor before the fixtures. Reserve a turning circle at least 60 inches across, then give the sink, the cooktop, and one work surface open knee space under a counter no higher than 34 inches.3 Move daily storage into the seated reach range, choose appliances with front controls, and confirm the plan with an occupational therapist.
Key Takeaways
- Floor space comes first: the ADA turning space is a 60-inch circle or a T-shape inside a 60-inch square, and a U-shaped kitchen needs 60 inches between opposing faces.3
- The minimum is not a promise of fit. In one US sample, only about 70% of manual chair users and 49% of power chair users fit the standard clear floor space.4
- Storage is the weak link: 15.8% of US homes had wheelchair accessible kitchen cabinets, against 51.0% for countertops.2
- Adjustable features are the hardest to get: 78.7% of people with spinal cord injury who needed an adjustable worktop did not have one.7
- Adapting the home changes daily use: people who had adapted their home were more likely to use the wheelchair there, with an odds ratio of 3.75.6
Why a Wheelchair Accessible Kitchen Starts With the Approach
A wheelchair accessible kitchen is a kitchen where a seated person can reach, see, and operate everything needed to prepare a meal, without help and without unsafe stretching. The need is wider than many households assume. In 2014, 2.3 percent of US adults, about 5.5 million people, used a wheelchair.1 Adults 65 and older used one about four times as often as younger adults.1
Most homes were not built with a seated cook in mind. A study for the US Department of Housing and Urban Development tested homes against a clear bar: could a wheelchair user live there and prepare their own meals? Very few homes passed, while far more had the basic structure to be adapted.2
“Our analysis finds that almost one third of housing is potentially modifiable, but we estimate that just 0.15% of housing is currently wheelchair accessible.”2
Luke Bo’sher and colleagues, NYU Furman Center, in a report for the US Department of Housing and Urban Development2
That gap explains the planning order in this guide. The product catalog comes last. The first question at every station is how the chair arrives. A forward approach means the chair rolls straight in, with the user’s knees under the counter, sink, or cooktop. A parallel approach means the chair pulls up alongside an element and the user reaches sideways.
A forward approach needs open knee space underneath. A parallel approach needs open floor beside the element and a shallow reach. Each station gets one or the other. That single choice then drives the cabinet, plumbing, and appliance decisions that follow, which is system before symptom in practice.
Deciding the approach at each station before choosing any product is what keeps a remodel from fixing the wrong things.
Before You Begin: Watch the Seated Cook Work
Start with observation, not renovation. Before measuring anything, watch the person who will use the kitchen prepare a simple meal in the current room. If you are planning for yourself, cook as usual and note each spot where you stretch, back up, or skip a task. If you are helping a parent, let them lead and take notes rather than giving directions.
Wheelchair use at home is not all or nothing. In a cohort of 153 people with a newly prescribed wheelchair, use in the kitchen and use in the bath moved together, with a correlation of 0.66.6 People who had adapted their home were more likely to use the chair there.6 A kitchen that works for the chair tends to get used from the chair. One that fights it pushes people to stand when they would rather not.
Record these things during the walk:
- The daily routes: fridge to counter, counter to sink, sink to cooktop, and cooktop to table.
- Every point where the chair must reverse, make a multi-point turn, or stop short of a task.
- Items used each day that sit above shoulder height or below knee height.
- The preferred hand, and whether the chair is manual or powered.
- The chair itself: overall length and width, plus the height of the user’s knees and the armrests.
Measure the actual chair, not a catalog average. The occupied size of a chair with its user varies a great deal, so the kitchen should fit this chair and this person. The notes from the walk become the brief for the designer, the contractor, and the occupational therapist.
An hour of observation tells you which friction points matter, and that list is worth more than any generic checklist.
Step 1: Map Turning Space and Clear Floor Space
The floor plan comes first because every station depends on it. The ADA turning space is a circle at least 60 inches across, or a T-shaped space inside a 60-inch square with arms at least 36 inches wide.3
Turning space is the open floor a wheelchair needs to reverse direction without a multi-point turn. Clear floor space is the open area a chair occupies while its user works at one element, and the ADA minimum is 30 by 48 inches.3 A kitchen needs one turning space and a clear floor space at each station. The clear floor spaces may overlap.
Kitchen shape sets the aisle width. In a pass-through or galley kitchen, the ADA calls for at least 40 inches between opposing counters, appliances, or walls, plus two entries.3 A U-shaped kitchen enclosed on three sides needs at least 60 inches between opposing faces, because the chair has to turn around inside it.3 Measure from the furthest projecting face, such as a counter edge or an appliance front, not from the wall behind it.
For a small wheelchair accessible kitchen layout, an L-shape or a single wall with open floor in front tends to work better than a tight U. The turning circle can include space under a counter that has knee and toe clearance, which saves floor area.3 Good wheelchair accessible kitchen layout ideas usually start from that trick: let the open knee space under the sink or a work counter double as part of the turn.
The 30 by 48 inch minimum is a floor, not a fit guarantee. In a US study that measured 369 people with their wheeled mobility devices, only about 70% of manual chair users fit inside that footprint.4 For power chair users the share was 49%, and for scooter users it was 54%.4
“Preliminary analysis suggests that the U.S. standards, which are based on research conducted in the 1970s, need to be updated to address advances in wheeled mobility technology and changes in user demographics.”
Edward Steinfeld and colleagues, Center for Inclusive Design and Environmental Analysis, University at Buffalo5
The key accessible kitchen measurements guide lists these clearances next to reach ranges and counter heights, which helps when you compare a plan against the numbers.
Treat the ADA minimums as the starting line for a power chair, not the target, and test the plan with the actual chair before cabinets are ordered.
Step 2: Set Counter Heights and Knee Clearance
A seated work surface sits lower than a standard counter and leaves open space underneath. The ADA sets the kitchen work surface at 34 inches maximum, with at least one section 30 inches wide or more.3
Knee clearance is the open space under a counter between 9 and 27 inches above the floor, where a seated user’s knees fit.3 Under the ADA it must be at least 30 inches wide and 8 inches deep at the top.3 It must reach 11 inches deep at the 9-inch line. Below that line is toe clearance, which runs at least 17 inches under the element.3
Shared kitchens raise a fair question: what about the person who stands to cook? An adjustable counter that moves between 29 and 36 inches is permitted by the ADA.3 That range lets a seated cook and a standing cook share one surface. It also allows for the days when the person who uses the chair prefers to stand.
Adjustable surfaces are also hard to get. In a Swiss survey of people with spinal cord injury, 78.7% of those who needed an adjustable kitchen worktop did not have one.7 Financial hardship did not explain that gap, so cost was not the whole story.7
The underside of a work counter should have no sharp or abrasive surfaces, because knees and shins sit right against it.3 The counter height and knee space planning guide works through these numbers for different chairs and seat heights.
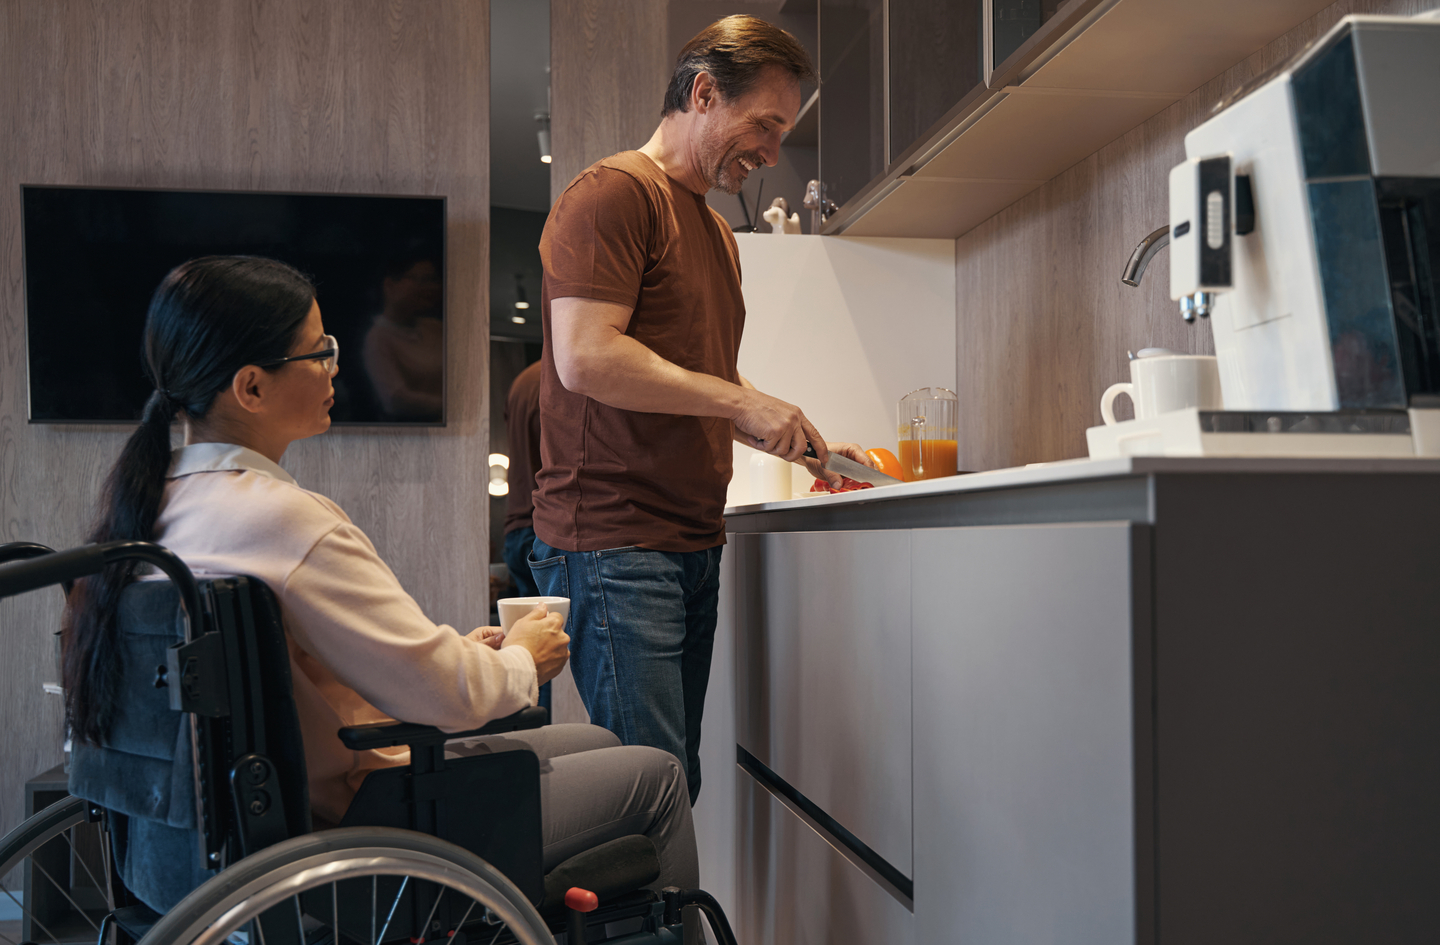
If only one counter section can drop, put it between the sink and the cooktop, where most preparation happens.
Step 3: Plan the Wheelchair Accessible Kitchen Sink
The sink is the hardest station to get right, because plumbing fills the space where the knees need to go. The ADA puts the front of the sink rim or counter at 34 inches maximum and calls for a forward approach with knee and toe clearance.3
In home kitchens, a sink that adjusts between 29 and 36 inches is permitted where the rough-in plumbing allows a 29-inch mounting.3 That rough-in height is set early. Decide it before the cabinets are ordered, because moving a drain line later is slow and costly.
Supply and drain pipes under the sink must be insulated or configured to protect against contact.3 That matters most for someone with reduced feeling in the legs, who might not notice a hot pipe. A shallow bowl with a drain set toward the back keeps the trap away from the knees.
A wheelchair accessible kitchen sink cabinet is allowed under the ADA in homes, on three conditions.3 The cabinet must come out without removing the sink. The finished floor must run underneath it. The walls behind it must be finished too. Fold-back or removable doors let a household keep a tidy look and open the knee space when needed.
Faucet controls must work with one hand, without tight grasping or twisting of the wrist, at no more than 5 pounds of force.3 A single lever or a pull-down spray head meets that easily. In the 2011 housing survey, 27.9% of US homes had sink handles or levers instead of knobs.2
The sink is where plumbing and posture meet, so it deserves the first conversation with the plumber, not the last.
Step 4: Bring Cabinets and Cupboards Into Seated Reach
Storage is where most kitchens let a seated cook down. The ADA reach range for an unobstructed forward or side reach runs from 15 inches to 48 inches above the floor.3 Over a counter deeper than 20 inches, the forward reach limit drops to 44 inches.3 That is why wall cabinets above a standard counter sit mostly out of reach.
The ADA asks that at least 50 percent of kitchen shelf space fall within that reach range.3 Housing data show how rarely homes get there. In the 2011 American Housing Survey, 15.8% of US homes had wheelchair accessible kitchen cabinets, while 51.0% had wheelchair accessible countertops.2
The Swiss survey found the same weak point from the other side. Adjustable kitchen cabinets had the second-highest unmet need of the ten home adaptations studied, at 75.7%.7 Read together, two surveys in two countries point to one conclusion: cabinets lag behind counters. A kitchen can have a usable work surface and still hide most of its contents above the reach line.
Wheelchair accessible kitchen cabinets and cupboards share a few features:
- Deep drawers in base cabinets instead of fixed shelves behind doors, so the contents slide out to the user.
- Pull-down shelf systems inside wall cabinets, which bring the shelf down to counter level.
- A tall pantry with roll-out trays, reached with a parallel approach.
- Corner units with rotating trays or swing-out shelves, so nothing is lost at the back.
- D-shaped or bar pulls that work with one hand and no tight grip.
Every handle and latch falls under the same operable-parts rule as the faucet: one hand, no tight grasping, and 5 pounds of force or less.3 The guide to reachable kitchen storage compares pull-down shelves, drawers, and corner solutions in more depth.
Move the daily items first. Plates, pans, and staples belong in drawers between knee and shoulder height, and that change costs little while changing the most.
Step 5: Choose and Place the Appliances
Wheelchair accessible kitchen appliances are judged on two things: where the controls sit and which way the doors open. The ADA requires front-panel controls on ovens.3 It also requires a work surface beside the latch side of a side-hinged oven, so a hot dish can slide straight across.3 A bottom-hinged oven needs a work surface beside one side of the door instead.
Cooktop controls should never require reaching across burners.3 Where knee space runs under a cooktop, its underside must be insulated or configured to prevent burns, abrasions, and electrical shock.3 Front or side controls, a cooktop set into a lowered counter, and a heat-proof landing zone beside it make the station easier to use. Induction heats the pan directly, so the glass around it stays cooler than a radiant element.
For the refrigerator, the ADA asks that at least 50 percent of the freezer space sit 54 inches or lower above the floor.3 Side-by-side and bottom-freezer models meet that more easily than top-freezer units. The clear floor space for a refrigerator is set up for a parallel approach, centered within 24 inches of the appliance’s centerline.3
At the dishwasher, the clear floor space sits beside the door, and the open door must not block the space for the dishwasher or the sink.3 A drawer-style dishwasher or a drawer microwave below the counter avoids a deep lean or an overhead lift. A microwave mounted above the range is the opposite: it puts hot liquid above head height for a seated cook.
When people ask about the best appliances for a wheelchair accessible kitchen, the useful answer is a set of features rather than a brand. Look for front controls, a side-swing or slide-under oven door, a freezer drawer, and a dishwasher that can be loaded from the side.
Pick appliances after the stations are set, so each one lands where the chair can reach it from the side or the front.
Step 6: Plan the Island, Table, and Seating
A wheelchair accessible kitchen island can serve as both a work station and a place to eat, if its height and the space underneath are right. The ADA sets dining and work surfaces at 28 to 34 inches high, with knee and toe clearance for a forward approach.3
A wheelchair accessible kitchen island with seating needs an open end or side with no apron, no cabinet box, and no footrest bar where the knees go. Legs at the corners work better than a center pedestal, which blocks the footplates. A two-level island is a practical compromise: a lower section for seated prep and eating, and a higher one for standing work.
The island also has to leave the room usable. Treating each aisle around it like a pass-through kitchen, at 40 inches or more, keeps a chair moving.3 In a small kitchen, a table at the right height often does the same job better. A wheelchair accessible kitchen table follows the same 28 to 34 inch rule, with no apron or crossbar where the knees go.3
An island earns its floor area only when the aisles around it still let the chair turn; otherwise a table at seated height is the better buy.
Common Mistakes When Planning a Wheelchair Accessible Kitchen
Most planning mistakes come from treating accessibility as a list of products rather than a set of approaches. These are the ones that cost the most to undo.
- Lowering every counter: a fully lowered kitchen can make standing family members stoop. Lower or adjust the stations the seated cook uses most, and keep some standard-height surface.
- Sizing for the minimum: only 49% of power chair users in one US sample fit the ADA’s minimum clear floor space.4 Plan around the actual chair, with room to spare.
- Hiding the knee space: a fixed sink cabinet or exposed pipes make the sink unusable from the front. Use a removable cabinet and insulated pipes.
- Relying on wall cabinets: upper cabinets sit above the seated reach range for most of their height. Shift daily storage into drawers and pull-outs.
- Choosing appliances first: buying a range before the stations are set often locks in controls at the back or a door that blocks the chair.
- Skipping the professionals: an occupational therapist can assess the person’s reach and transfers. A licensed contractor, plumber, or electrician should handle moved drains, circuits, or walls.
Every one of these mistakes comes from choosing a fix before observing the cook, which is why observation stays the first step.
What a Finished Wheelchair Accessible Kitchen Plan Looks Like
A finished plan is a short document, not a shopping list. It names the approach at each station, the key dimensions, and who will check each decision. The table below pulls together the ADA reference dimensions used in this guide.3
| Station | Approach | ADA reference dimension | Planning note |
|---|---|---|---|
| Turning space | Not applicable | 60 in circle, or T-shape in a 60 in square | May include open knee space under a counter |
| Aisles | Not applicable | 40 in pass-through; 60 in U-shape | Measure from counter edges and appliance fronts |
| Work surface | Forward | 34 in max; at least 30 in wide | Adjustable 29 to 36 in suits shared kitchens |
| Sink | Forward | 34 in max rim; adjustable 29 to 36 in | Insulate pipes; removable cabinet |
| Cooktop | Forward or parallel | Insulated underside if knees go under | No reaching across burners |
| Oven | Parallel | Work surface at the latch side | Controls on the front panel |
| Refrigerator | Parallel | Half of freezer space at 54 in or lower | Offset 24 in max from centerline |
| Storage | Forward or parallel | Reach 15 to 48 in; half of shelf space | Drawers and pull-downs over wall cabinets |
| Island or table | Forward | 28 to 34 in high | No apron or crossbar at the knees |
Bring this table, the observation notes, and the chair measurements to the first meeting with an occupational therapist or contractor. The accessible remodel checklist turns the same plan into a room-by-room review before work starts. Prepare the questions before hiring the professional.
A plan that names the approach at each station gives every trade the same picture, which is how a remodel stays on budget.
Frequently Asked Questions
What is the best layout for a wheelchair accessible kitchen?
An L-shape or a galley with two entries usually works best. A galley needs at least 40 inches between opposing faces, while a U-shape needs 60 inches so the chair can turn inside it.3 Open knee space under the sink can count toward the turning circle.
How high should a wheelchair accessible kitchen counter be?
The ADA sets a kitchen work surface at 34 inches maximum, with open knee space beneath it.3 An adjustable counter between 29 and 36 inches is also permitted, which suits households where one person sits and another stands to cook.
What makes a sink wheelchair accessible?
The rim sits no higher than 34 inches, there is knee and toe clearance for a forward approach, and the pipes underneath are insulated.3 A single-lever faucet that works with one hand and light force completes the station.
Which appliances suit a wheelchair accessible kitchen?
Choose by features: front controls, a side-hinged or slide-under oven door with a counter beside it, and a refrigerator with at least half the freezer space at 54 inches or lower.3 Drawer dishwashers and drawer microwaves avoid deep leans and overhead lifts.
Can an existing kitchen be adapted without a full remodel?
Often, yes. Moving daily items into the 15 to 48 inch reach range, swapping knobs for levers, and opening knee space under one counter cost far less than a remodel.3 An occupational therapist can judge which changes fit the person and the chair.
Limitations and Edge Cases
- The 2010 ADA Standards govern covered public buildings and certain housing, not most private single-family homes. This guide uses them as a tested reference, not a legal requirement for your home.
- The fit data come from a US sample of 369 device users, published in 2010. Chair designs vary, so the actual chair and user should be measured.4
- A person who transfers often, uses the chair only part of the day, or has limited upper-body reach needs an individual assessment by an occupational therapist rather than standard dimensions.
References
Methodology: every figure in this article comes from an independent published source, each link was checked live and matched to the sentence that states the figure on October 10, 2026, and the article was written and reviewed by Home Age Fit’s founder.
- U.S. Census Bureau – Taylor DM. Americans With Disabilities: 2014. Current Population Reports P70-152, November 2018.
- HUD Office of Policy Development and Research – Bo’sher L, Chan S, Ellen IG, Karfunkel B, Liao HL. Accessibility of America’s Housing Stock: Analysis of the 2011 American Housing Survey. March 2015.
- U.S. Access Board – ADA Accessibility Standards (2010 ADA Standards for Accessible Design), sections 304, 305, 306, 308, 309, 606, 804, 811 and 902.
- PubMed Central – D’Souza C, Steinfeld E, Paquet V, Feathers D. Space Requirements for Wheeled Mobility Devices in Public Transportation: An Analysis of Clear Floor Space Requirements. Transportation Research Record, 2010.
- PubMed – Steinfeld E, Maisel J, Feathers D, D’Souza C. Anthropometry and standards for wheeled mobility: an international comparison. Assistive Technology, Spring 2010.
- PubMed – Hoenig H, Pieper C, Zolkewitz M, Schenkman M, Branch LG. Wheelchair users are not necessarily wheelchair bound. Journal of the American Geriatrics Society, April 2002.
- PubMed Central – Hertig-Godeschalk A, Gemperli A, Arnet U, Hinrichs T. Availability and need of home adaptations for personal mobility among individuals with spinal cord injury. Journal of Spinal Cord Medicine, January 2018.
Conclusion
A wheelchair accessible kitchen is built in order. Observe the cook, set the floor space, and assign an approach to each station. Then fit counters, the sink, storage, appliances, and seating around those decisions. Storage is where most homes fall short, so drawers and pull-downs deserve early attention. Bring the plan to an occupational therapist and a licensed contractor before work begins.
For how this fits the wider question of easier daily cooking, see the accessible kitchen design overview.