
Kitchens are among the most-used rooms in any home, yet most were never built with changing mobility in mind. A 2020 analysis of federal injury data found that kitchen and dining areas account for roughly 7% of home fall emergency department visits among adults aged 65 and older.2 This accessible kitchen design checklist walks you through six areas: counters, cabinets, lighting, flooring, appliances, and circulation. Use it to find friction points before a remodel. For a broader planning overview, see the guide to accessible kitchen design.
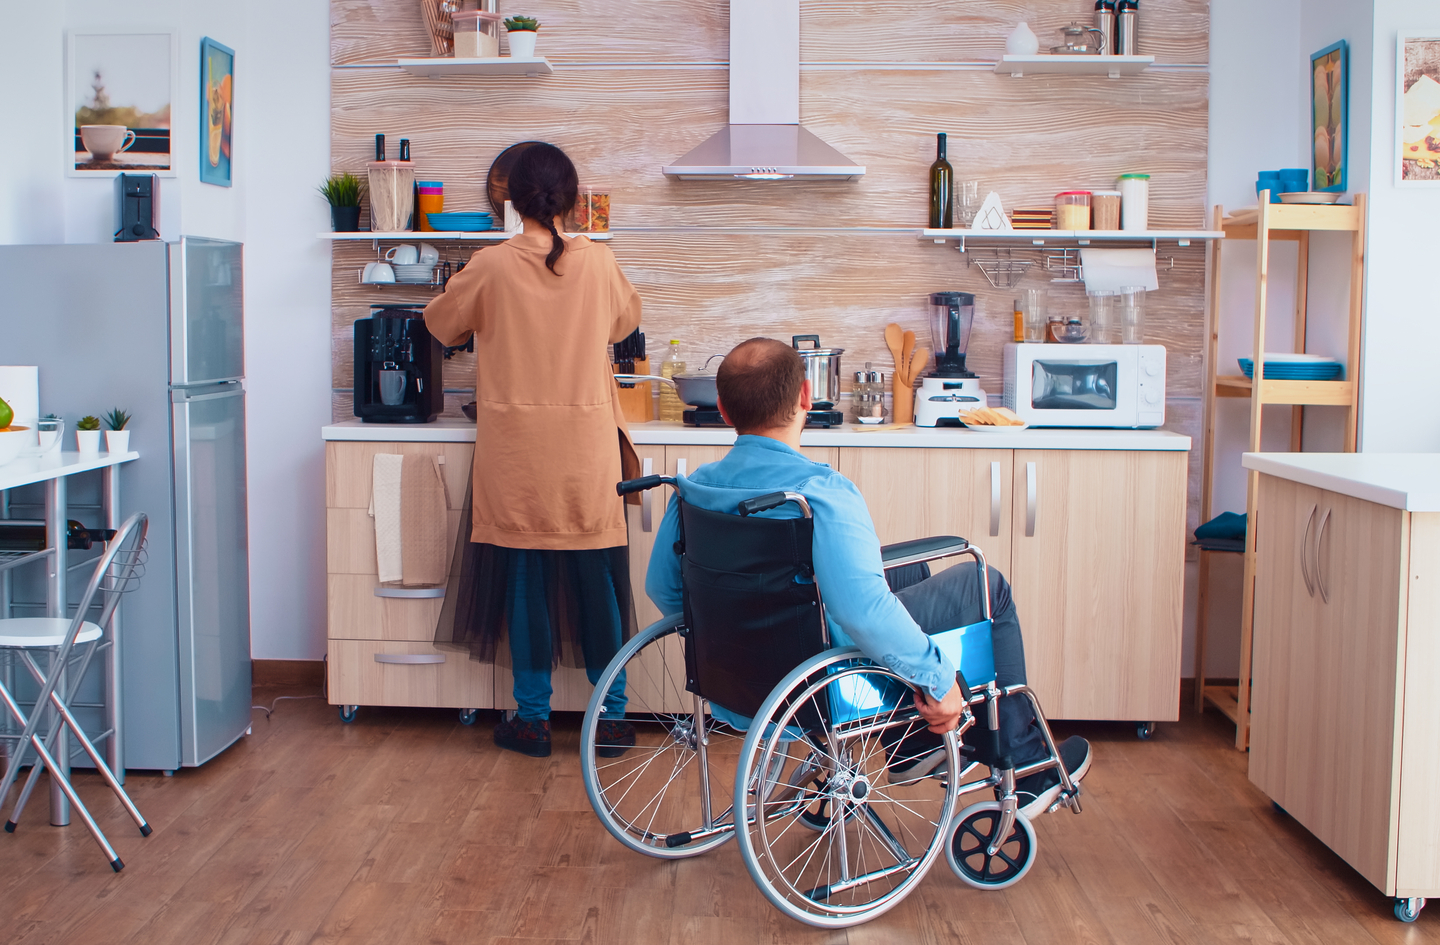
Quick Answer
What should an accessible kitchen design checklist cover?
An accessible kitchen design checklist covers six areas: counter heights and knee clearance, cabinet access and reach range, task lighting, slip-resistant flooring and transitions, appliance controls, and clear circulation paths. The U.S. Access Board sets the accessible work surface range at 28 to 34 inches,3 with a 60-inch turning-radius diameter as the minimum wheelchair circulation standard.5 Completing this checklist before a remodel helps you rank changes by daily-route impact rather than reacting to them after the work is done.
Key Takeaways
- Kitchen and dining areas account for roughly 7% of older adult home fall emergency department visits.2 The kitchen is a friction zone worth checking before any remodel.
- The ADA sets the accessible counter height range at 28 to 34 inches for work surfaces; adjustable counters are permitted from 29 to 36 inches.3
- 39% of adults aged 50 and older anticipate needing kitchen upgrades to support independent aging at home.6
- A home modification program that included kitchen changes reduced indoor falls from an average of 2.53 to 1.5 per person per year.7
Before You Start: Using This Accessible Kitchen Design Checklist
Accessible kitchen design means planning or changing a kitchen so people can use it with ease, no matter their level of mobility, strength, or reach. This checklist is not a renovation order form. It is an observation tool: walk the kitchen with someone who uses it daily, and mark each item as it currently stands.
What to bring: a tape measure long enough to span any kitchen run and a notepad. If the kitchen will be used by a wheelchair user, bring the wheelchair so you can check clearances in place rather than estimating them.
Work through the six areas in order. Each builds on the last. Counter heights affect knee clearance, knee clearance affects circulation, and circulation affects how every other zone connects. Mark high-priority items as contractor discussion points, not as reasons to stop the checklist. An example: a fixed counter at 36 inches with no knee clearance underneath.
Older adults account for about 4.5 million emergency department fall visits each year in the United States.1 A 2020 University of Michigan poll found that 47% of adults aged 50 to 80 cook dinner at home six to seven days per week.8 At that rate, every kitchen friction point adds up hundreds of times per year. A single assessment pass can surface what a renovation should actually solve.
Step 1: Assess Counter Heights and Work Surfaces
By the end of this step, you will know whether the kitchen has at least one counter zone that works for a seated user, and where the gaps are if it does not.
Knee clearance is the unobstructed vertical and horizontal space below a counter that lets a wheelchair user pull close enough to work at the surface without leg contact. Without it, a counter can be at the right height and still be unusable from a seated position.
The U.S. Access Board sets the accessible work surface height at 28 to 34 inches above the finish floor. For kitchen counters specifically, the maximum fixed height is 34 inches; an adjustable counter section is permitted to range from 29 to 36 inches.3 Most standard kitchens are built at 36 inches – the two-inch gap matters at the knee.
“The tops of dining surfaces and work surfaces shall be 28 inches (710 mm) minimum and 34 inches (865 mm) maximum above the finish floor or ground.”3
U.S. Access Board, ADA Standards for Accessible Design, Section 902.33
For knee clearance under the counter, the ADA requires at least 27 inches of height at the front edge and at least 30 inches of width.4 The depth tapers as it approaches the wall. Toe clearance below that – the space a footrest needs – is at least 9 inches high.
| Measurement | ADA Standard | Typical standard kitchen |
|---|---|---|
| Counter height (fixed) | 34 inches max | 36 inches |
| Counter height (adjustable) | 29-36 inches range | Not typical |
| Work surface range (general) | 28-34 inches | 36 inches |
| Knee clearance height (front edge) | 27 inches min | Usually blocked by base cabinets |
| Toe clearance height | 9 inches min | 4-inch toe kick typical |
| Clear floor space per zone | 30 x 48 inches min | Often blocked by islands |
| Turning radius | 60-inch diameter circle | Rarely provided in galley kitchens |
What to check at Step 1
Measure counter height at each zone (prep, sink, range). Note whether any zone sits at or below 34 inches with open knee space underneath. Record the base-cabinet depth: a 24-inch-deep base cabinet with a 2-inch counter overhang leaves roughly 15 inches of knee depth, short of the 19-inch depth a forward approach requires. For a detailed look at counter dimensions, see the guide to wheelchair counter height and knee space.
A standard 36-inch counter without knee clearance is not a fixed constraint. It is a planning variable, and lowering one section during a remodel costs far less than retrofitting it after tile, cabinetry, and plumbing are already set.
Step 2: Audit Cabinet Access and Storage Reach
By the end of this step, you will know which storage zones require overhead reaching or deep bending. You will also see which zones fall within easy reach for the people who use the kitchen most.
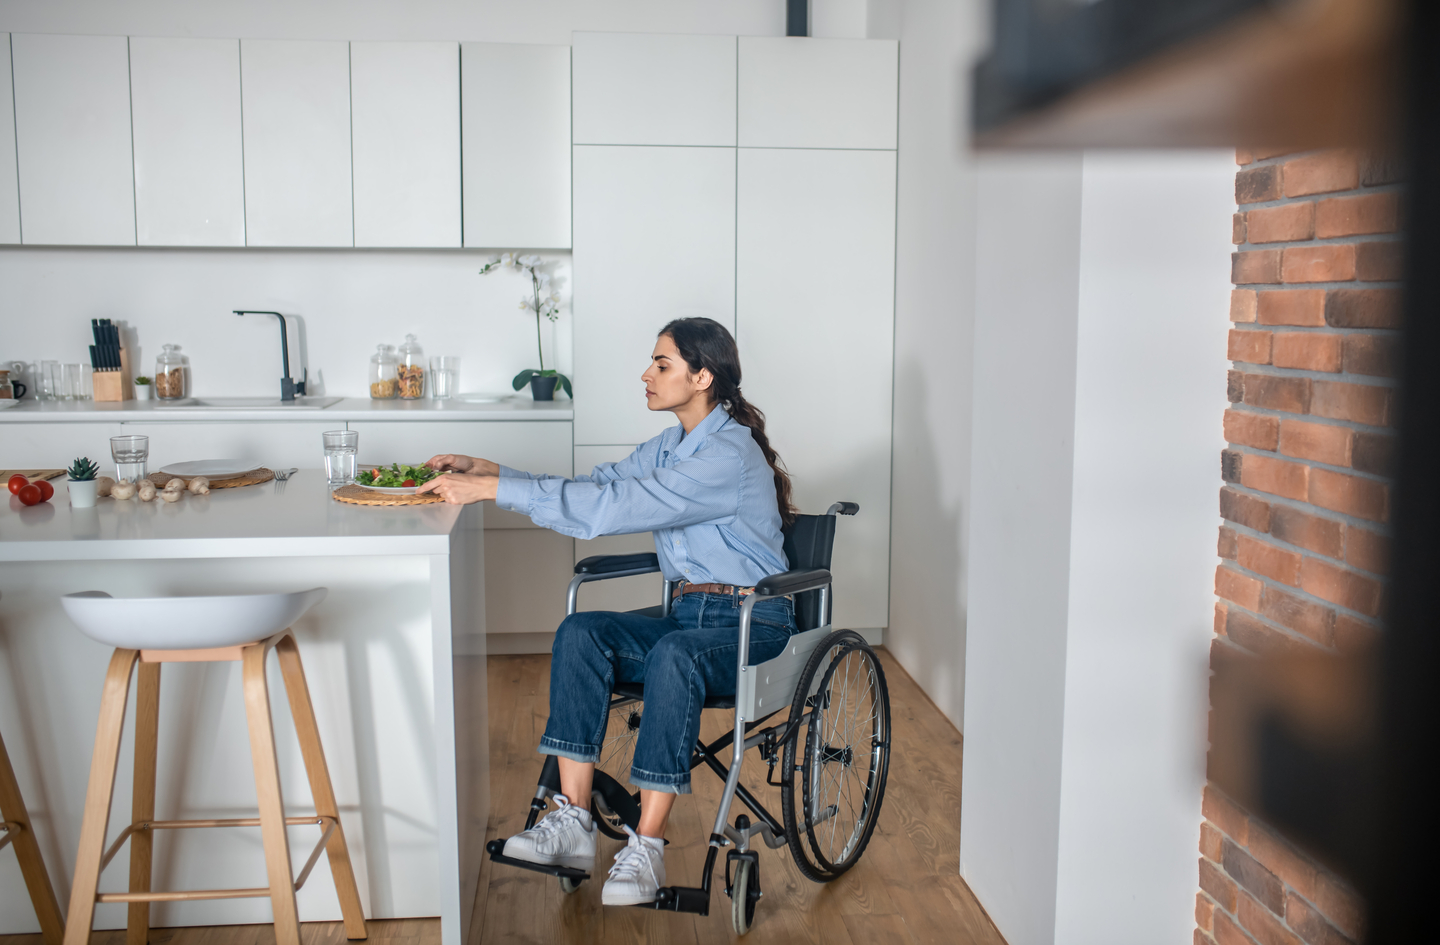
Reach range matters because overhead reaches above 48 inches, and floor-level reaches below 15 inches, place repeated stress on shoulders, backs, and hips. For a wheelchair user, the forward reach range over an obstruction is 15 to 48 inches above the floor.4 That is a tighter window than most upper cabinet shelves allow.
Upper cabinets
Open every upper cabinet and note the shelf heights. Items stored above 48 inches fall outside the standard forward reach range for a seated user. The fix is not necessarily removing upper cabinets: pull-down shelf mechanisms bring the shelf to counter height, and moving daily-use items to the lower two shelves is zero-cost. What this step surfaces is where the items people reach for most often actually live right now.
Lower cabinets and drawers
Reaching into a lower cabinet requires bending or squatting, which places load on knees and hips. Full-extension drawers address this: items are visible and reachable without bending into the cabinet body. Note which lower zones currently use swing-door cabinets and which daily-use items live there. Those are the highest-priority drawer-conversion candidates. Corner cabinets deserve separate attention – lazy-Susan or pull-out units make corners accessible without a deep reach into the diagonal space.
Hardware and grip
Round knobs require a pinch grip, which is difficult for hands with reduced grip strength or arthritis. Lever-style handles and D-ring pulls allow a loop or push-open motion instead. This is one of the lowest-cost changes in a kitchen and one of the highest daily-impact ones. Measure each cabinet and drawer pull: anything requiring a pinch on a diameter under one inch is a candidate for replacement. For a broader look at storage options by reach zone, see the guide to kitchen storage access for seniors.
Storage placement is a daily loading decision. Every item stored above shoulder height or below knee level gets lifted or lowered hundreds of times per year. That combined load on joints is what reduces kitchen confidence and range of motion over time.
Step 3: Check Lighting and Visibility
By the end of this step, you will know whether each work zone is lit at task level and whether shadows create trip-hazard zones. You will also see where a dimmer, a strip light, or a motion sensor would reduce hesitation.
Aging eyes need more light to see as clearly. The issue is not just total lumens: it is contrast at work surfaces, shadow removal at cutting zones, and the absence of glare from reflective counters and stainless steel. A kitchen that feels well-lit from overhead may leave prep surfaces much darker than the area around them, which slows work and increases the chance of misjudging a knife position or a spill.
Task lighting at work zones
Stand at each work zone – the range, the sink, the prep counter – and look at the surface from standing height and from seated height. Overhead recessed lighting that works well standing often casts shadows at counter level when you are seated. Under-cabinet LED strips address this: they light the work surface from below the upper cabinet rather than the ceiling. Check that each strip covers the full counter run without gaps. A color temperature in the warm-to-neutral white range gives accurate color rendering without harsh glare.
Transition zones and night navigation
The path from bedroom to kitchen at night is among the most common fall routes in any home. Check whether the kitchen entry is lit by a motion sensor or night light that activates without requiring the person to find a wall switch first. Also check the threshold between floor materials: a step-down from hallway to kitchen floor, or a transition strip that sits above flush, is a trip point when visibility is low. Mark these as priority items alongside the lighting gaps.
Switch placement
Standard light switches at 48 inches work well standing but sit at the high end of the comfortable reach range for a wheelchair user. Dimmer switches at that same position are a low-cost improvement: they allow partial light without requiring full illumination. Note whether switches are near the entry to each zone or set back in awkward positions. Relocating a switch is a small electrical task with a measurable daily-use benefit.
Lighting is the least expensive modification category in most kitchens and often the highest-impact one for immediate friction reduction. A dim prep surface adds cognitive load to every cutting and measuring task, and that load accumulates at the frequency of daily cooking.
Step 4: Inspect Flooring and Surface Transitions
By the end of this step, you will know whether the kitchen floor is slip-resistant when dry and wet, where raised transitions exist, and whether any rugs or mats introduce a trip edge.
The kitchen has the highest wet-surface exposure of any room in the house. Kitchen flooring should be slip-resistant when both dry and wet; look for products tested and rated for wet-surface use per their product specification. Smooth porcelain tile, polished stone, and certain vinyl planks can fall below that threshold when wet. The fix is rarely a full floor replacement: matte-finish sealers, textured overlays, and strategic mat placement can improve traction at the highest-risk zones at a fraction of that cost.
Threshold and transition strips
Measure the height of every threshold and transition strip between the kitchen floor and adjacent rooms. A strip above half an inch creates a trip edge – a raised surface that catches the toe of someone walking with reduced foot lift. A flush or beveled strip (no more than a quarter inch) is the target. A structural step-down of one or two inches needs a small ramp or a subfloor leveling job. Note it as a contractor discussion item and move on with the rest of the checklist.
Rugs and mats
Loose mats with curled edges are among the most common indoor trip sources. Check that every mat has a non-slip backing and lies fully flat at all edges. If a mat slides or bunches when stepped on, it is a hazard regardless of its surface texture. Foam anti-fatigue mats with beveled edges and rubber non-slip backs are the most effective choice at the sink and prep zones. If the floor itself has adequate traction, consider removing all loose mats and replacing them with a single beveled entry mat at the main kitchen entry point only.
Floor surface and transition decisions affect every room on the daily route, because the kitchen is a pass-through on most trips between the living area and the refrigerator. Addressing a transition here reduces hesitation not just at the kitchen entry but on every subsequent crossing throughout the day.
Step 5: Evaluate Appliances and Controls
By the end of this step, you will know whether the main appliances require overhead reaching, deep bending, or a strong pinch grip. You will also know which controls create hesitation at their current placement.
Appliance placement interacts with the reach range established in Step 2. A microwave mounted above the range requires reaching above shoulder height to both access the interior and to safely lower a hot dish. A refrigerator whose freezer sits at the top keeps frequently used items in the least accessible location for anyone with reduced shoulder range or for a seated user. Neither of these is a design preference. Both are friction points that compound daily.
Range and cooktop controls
Reach-over-burner controls are among the most common kitchen safety issues. Controls at the front or side of the range eliminate the need to reach over a hot surface. Check the current control position and note whether any knob requires reaching across an active burner. Also check knob diameter and texture: a smooth, round knob with no tactile grip is harder to turn with reduced grip strength than a D-shaped or ribbed knob. This is a hardware change, not a remodel item.
Refrigerator and microwave placement
A French-door or side-by-side refrigerator keeps the most-used zone (fresh food) at a mid-height range and the freezer accessible without bending to the floor. A top-freezer model is the least accessible for a seated user. A microwave at counter level or in a built-in drawer position eliminates overhead reach entirely. If an over-range microwave is in place, note it as a conversion candidate: a countertop unit placed at 24-28 inches is a low-cost interim step before a built-in change.
Dishwasher and sink access
Check whether the dishwasher door, when fully open, blocks the forward approach to the sink or prep counter. In many kitchens the dishwasher door lands in a clear floor space zone. That means loading the dishwasher and reaching the sink at the same time requires stepping around the open door. This tight spot is easy to miss until it becomes a daily frustration. Note the landing zone for each appliance door and whether it overlaps a high-use path.
Appliance placement decisions made for a standard build often assume a standing user with full reach range. Recognizing that assumption is the first step toward a kitchen that works for a wider range of users without requiring a complete equipment replacement.
Step 6: Measure Circulation Space and Turning Room
By the end of this step, you will know whether the kitchen allows a wheelchair to maneuver freely. You will also see whether the main pathways fit a walker or rollator, and which layout changes matter most.
Clear floor space is the unobstructed floor area adjacent to a counter or appliance that allows a wheelchair or mobility device to position for a forward or parallel approach. The ADA minimum is 30 by 48 inches per zone.5 A kitchen that meets standard counter height but has no clear floor space beside the prep counter is not accessible from a seated position.
A turning radius refers to the minimum circular floor space – 60 inches in diameter – that a standard wheelchair needs to complete a full rotation.5 In a galley kitchen without an island, a 60-inch turn is rarely possible. In a U-shaped kitchen, it depends entirely on what occupies the center floor space.
Measuring passageways
Walk the kitchen from the entry to each work zone and measure the narrowest point in each path. A standard rollator walker is 24-27 inches wide and a standard manual wheelchair is 24-25 inches wide at the wheels. The ADA minimum passageway for a single wheelchair is 36 inches,5 and 42-48 inches is the recommended target for a kitchen used daily by a wheelchair user. Mark any passageway below 36 inches as a structural priority item. For wheelchair-specific layout planning, see the guide to wheelchair accessible kitchen design.
Island and peninsula placement
An island that is the right height but too close to the perimeter counters on both sides can block the turning radius entirely. The ADA requires 60 inches of clearance between an island and adjacent counters when a wheelchair must pass and turn. Many contractor-grade kitchen islands are placed at 42-48 inches from the perimeter, which works for walking but not for wheelchair circulation. Measure both sides of the island if one is present.
Accessible kitchen requirements checklist summary
The measurements in Steps 1-6 align with the standards covered in depth in the guide to accessible kitchen requirements and key measurements. That guide explains the regulatory context behind each measurement. The standards differ by project type: ADA governs commercial and public spaces, ABA applies to federally funded residential,4 and ANSI A117.1 is commonly referenced in private residential accessible construction.
Circulation failures are the most common reason a kitchen that scores well on counter heights and reach ranges still frustrates a wheelchair user. The path between zones matters as much as the zones themselves.
Common Planning Mistakes to Avoid
The most common mistake is treating accessible kitchen design as a single-item upgrade. Lower one counter, add one grab bar, and consider the job done – that is the pattern. This approach solves one friction point while leaving others in place. The kitchen works as a connected system: reach range, clearance, lighting, and circulation all interact. The checklist finds all of them before the contractor arrives.
Mistake 1: Measuring only the counter, not the clearance below it
A counter lowered to 34 inches is not accessible if a full base cabinet sits underneath. Knee clearance requires removing or reconfiguring base cabinets in that zone, which is a separate scope item. Check and document both the counter height and the clearance below it as a combined measurement.
Mistake 2: Skipping the turning radius check
A kitchen with perfect counter heights and cabinet hardware is still inaccessible if a wheelchair cannot complete a turn inside it. The 60-inch turning circle is the constraint that forces layout conversations – and it is most often discovered after a remodel is complete if it is not checked first.
Mistake 3: Assuming accessible means institutional
Lever hardware, pull-out drawers, and lower counters in one zone are design decisions, not medical devices. The most effective accessible kitchens look intentionally designed, not retrofitted. Countertop materials, cabinetry styles, and hardware finishes all remain full design choices within accessible dimensions. An accessible kitchen does not have to look like a facility – it has to work like one designed for the people using it.
What a Completed Assessment Achieves
Completing this checklist produces a ranked list of friction points, not a renovation proposal. Some items – a round knob, a loose mat, a high microwave – are zero-cost or low-cost fixes. Others – a structural counter height reduction, a passageway widening – require contractor involvement and a construction budget. Separating the two categories is the checklist’s primary output.
Home modification programs can reduce indoor falls. A 2024 clinical study found that participants saw falls inside the home drop from an average of 2.53 to 1.5 per person per year.7 The checklist is the planning step that makes that kind of change deliberate rather than reactive.
AARP’s 2024 Home and Community Preferences Survey found that 75% of adults aged 50 and older want to stay in their current home as they age.6 In the same survey, 39% expected to need kitchen upgrades to support that goal. Starting with a systematic assessment – rather than a product list – often makes the difference. A kitchen that gets easier over time is different from one that needs a second renovation because the first missed the real friction points.
The goal of this checklist is not a perfect score. It is a complete picture of where effort is concentrated so a contractor, an occupational therapist, or a family conversation starts from specific observations rather than general concerns.
Frequently Asked Questions
What is the standard counter height for an accessible kitchen?
The ADA standard for accessible work surfaces is 28 to 34 inches above the finish floor.3 For kitchen counters specifically, the maximum fixed height is 34 inches, with adjustable sections permitted from 29 to 36 inches. Most standard kitchens are built at 36 inches, so even a two-inch reduction to one prep zone can greatly expand usability for a seated user.
How much turning space does a wheelchair need in a kitchen?
A standard wheelchair requires a 60-inch diameter circular clear floor space to complete a full turn.5 In a kitchen, that space is most commonly found at the center of a U-shaped or L-shaped layout. Galley kitchens rarely meet this requirement, which is the first constraint to check when planning a wheelchair-accessible renovation.
Does an accessible kitchen remodel have to look institutional?
No. Accessible dimensions, lever hardware, full-extension drawers, and lower counter sections are design decisions. Countertop materials, cabinetry styles, and hardware finishes remain full design choices within those dimensions. The most effective accessible kitchens look intentionally designed rather than retrofitted, and there is no ADA requirement that applies to residential kitchen aesthetics.
What should I check before hiring a contractor for an accessible kitchen remodel?
Complete the full checklist first and document every measurement. Bring photos, dimensions, and a ranked priority list to any contractor conversation. Knowing the exact counter height, knee clearance, turning radius, and passageway widths before the meeting prevents scope creep and helps the contractor provide an accurate estimate. An occupational therapist evaluation is also worth considering before finalizing scope.
Can a small or galley kitchen be made accessible?
Yes, with targeted changes. The most common challenge in a galley kitchen is the 60-inch turning radius, which may require removing a peninsula or repositioning an island. Passageways of 36 to 48 inches can often be achieved without structural changes. Counter lowering, hardware replacement, under-cabinet lighting, and full-extension drawers are all possible in a galley layout and together address most daily-use friction points.
Limitations and Edge Cases
- This checklist covers residential kitchens. Commercial kitchen accessibility requirements follow a different regulatory framework (ADA Title III for places of public accommodation) and are not addressed here.
- The ADA measurements in this article apply to new construction and alterations subject to ADA Title II or Title III. Residential homes are generally governed by ANSI A117.1, FHA, or local building codes rather than ADA directly.4 The dimensions are the same or similar, but the regulatory basis differs. For the governing standards for your specific project type, consult a licensed contractor or accessibility specialist. The guide to accessible kitchen requirements and key measurements covers the regulatory distinctions in more detail.
- Reach range, grip strength, and balance vary greatly by individual. A checklist assessment identifies general friction points; an occupational therapist evaluation addresses a specific person’s functional needs and is the appropriate next step once the checklist is complete.
References
Methodology: every figure in this article is drawn from an independently published source and linked below; measurements reflect current U.S. Access Board ADA and ABA Standards, and the checklist structure was developed by reviewing those standards alongside peer-reviewed fall-prevention literature.
- CDC – Facts About Older Adult Falls, Centers for Disease Control and Prevention, updated September 2026.
- PubMed Central – Moreland BL, Kakara R, Haddad YK, Shakya I, Bergen G. A Descriptive Analysis of Location of Older Adult Falls That Resulted in Emergency Department Visits in the United States, 2015. American Journal of Lifestyle Medicine, 2020.
- U.S. Access Board – ADA Standards for Accessible Design, Chapter 9 (Built-In Elements, Section 902 Work Surfaces), current edition.
- U.S. Access Board – ABA Accessibility Standards, Chapter 8 (Special Rooms, Spaces and Elements, Section 804 Kitchens), current edition.
- U.S. Access Board – ADA Guide: Chapter 3, Clear Floor or Ground Space and Turning Space (Sections 304-305), current edition.
- AARP – 2024 Home and Community Preferences Survey, AARP Public Policy Institute, December 2024.
- PubMed Central – Hawkins M, Goldhammer T, McClave R, Jenkins-Smith E. Evaluation of a Fall Prevention Program to Reduce Fall Risk. Clinical Interventions in Aging, 2024;19. DOI: 10.2147/CIA.S448196.
- ScienceDaily – University of Michigan Institute for Healthcare Policy and Innovation. National Poll on Healthy Aging: The Joy of Cooking and Its Benefits for Older Adults, June 2020.
Conclusion
A kitchen that feels familiar can still carry significant friction for someone whose mobility, grip strength, or reach range has shifted. This accessible kitchen design checklist surfaces those friction points systematically across six areas: counter heights, cabinet access, lighting, flooring, appliances, and circulation. That gives any conversation with a contractor or occupational therapist a starting point in specific observations rather than general concerns.
For the broader context behind these decisions, see the overview in accessible kitchen design for how each of these checklist areas connects to the larger planning process.