
A raised toilet seat works best when it closes the height gap between the toilet and the person using it, not when it adds the most height. That precision matters: among adults aged 85 and older, 51.7% of bathroom injuries treated in emergency departments happened on or near the toilet.1 This article is one focused angle under our toilet transfer safety overview, which summarizes that wider topic. Here the angle is selection: how much height to add, how the seat fits the bowl, how it locks, and which features change the effort of each sit-to-stand.
Quick Answer
How do you choose a raised toilet seat for lower-effort transfers?
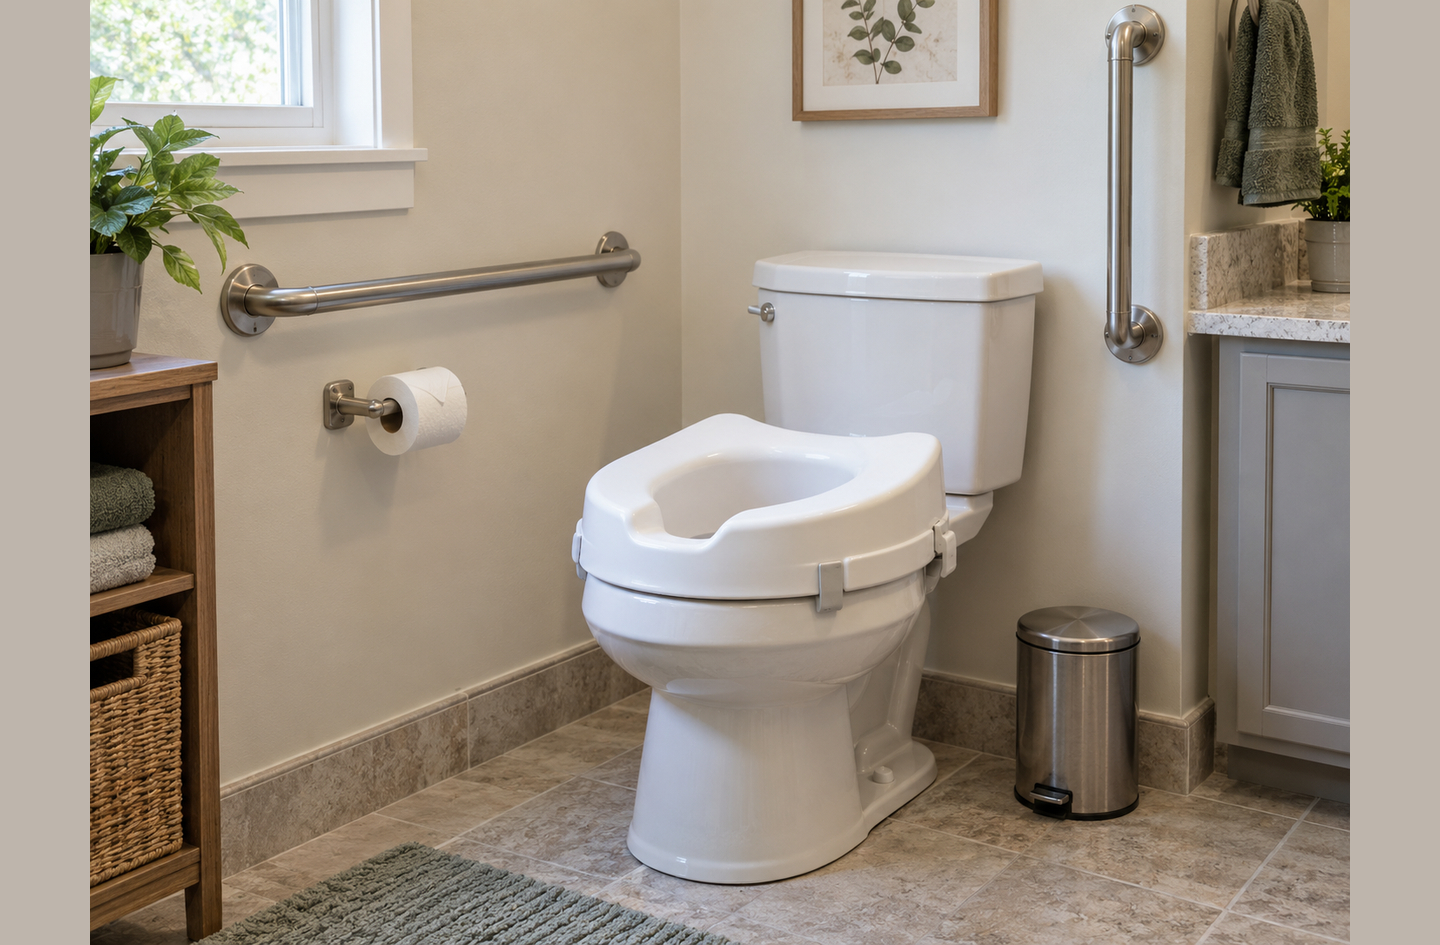
Start with the person, not the product. Measure knee height and the current seat height, then add only enough height to bring the seat close to knee level while both feet stay flat. In sit-to-stand research, a higher seat cut knee moments by up to 60%.3 Then match the bowl shape, pick a lock that cannot shift, confirm the weight rating, and add arms only if the transfer calls for them.
Key Takeaways
- Seat height is the biggest single setting in a sit-to-stand: a higher seat lowered knee moments by up to 60% and hip moments by up to 50%.3
- More height is not always better. Mean knee height for Australian women over 65 is 379 mm (about 14.9 inches), below the 17-inch accessible seat minimum.5
- Feet come first: one NHS trust tells users not to use a raised seat if their feet cannot reach the floor.6
- The need is common and often unmet: 52% of older adults who needed toileting equipment never received it over four years.8
Before You Begin: What to Measure and Observe
Choosing a raised toilet seat starts with a tape measure, a second person, and one observed transfer. A raised toilet seat is a molded riser that sits on the toilet bowl rim and lifts the sitting surface by a fixed amount printed on its label. That fixed lift is the number you are really choosing, so the measurements come before the product.
Take these measurements in the shoes normally worn at home:
- Knee height: sit on a firm chair with feet flat and thighs level. Measure from the floor to the crease behind the knee.
- Rim height: lift the existing toilet seat and measure from the floor to the top of the bowl rim, because most clamp-on risers sit directly on it.
- Bowl length: measure from the center point between the two seat bolts to the front edge of the rim.
- Rim profile: run a hand under the rim and note whether it has a clear lip that a bracket could grip, or a smooth, skirted surface.
- Body weight and landing style: note whether the person lowers with control or drops the last few inches onto the seat.
Popliteal height is the vertical distance from the floor to the underside of the thigh just behind the knee, measured while seated with feet flat. It is the anthropometric name for knee height, and seat designers rely on it because it sets how far the body travels to stand up.
Then watch one ordinary transfer. Look for the friction points: gripping the sink, reaching for a towel bar, rocking forward several times, or dropping onto the seat. Each one tells you what the seat has to solve. If you are planning for yourself, describe where the effort feels highest. If you are helping a parent, measure together and let them lead that description. An occupational therapist can assess the transfer itself when balance, pain, or recent surgery is part of the picture.
Step 1: Set the Raised Toilet Seat Height From Knee Height
The right raised toilet seat height brings the sitting surface close to knee level, because seat height is the strongest single factor in sit-to-stand effort. A 2002 review of 39 experimental studies found that a higher seat lowered moments at the knee by up to 60% and at the hip by up to 50%.3
The sit-to-stand transfer is the movement from sitting to standing: the trunk leans forward, weight shifts over the feet, and the hips and knees straighten. A joint moment is the turning force the muscles must produce around a joint to lift and control the body. Lower moments mean less muscle effort for the same movement.
An earlier lab study tested seats set at 65, 80, 100, and 115% of each subject’s knee height.4 Peak knee moments nearly doubled from the highest seat to the lowest, while hip moments changed by less than 12%.4 The subjects were young adults, so the pattern matters more than the exact values: the knee carries most of the penalty when a seat is too low.
Why the tallest riser is not the safest choice
Knee height differs widely between individuals. A fifth-percentile Australian woman over 65 has a popliteal height of 330 mm (about 13.0 inches), while the group mean is 379 mm (about 14.9 inches).5 The ADA Standards set accessible toilet seats at 17 to 19 inches, measured to the top of the seat.2 Even the bottom of that range sits about 4 inches above the shorter woman’s knee height. A seat that tall can leave her feet hanging, which removes the base she pushes from.
The researchers who gathered those knee-height figures put the trade-off plainly.
“Higher seat height reduces the motion and strength required by the hips and knees to rise from the chair, and less exertion is required to rise from higher chairs as the distance travelled by the body is smaller.”
Alethea Blackler and colleagues, QUT Design Lab, Queensland University of Technology5
The same paper warns that seats that are too high can compromise stability, because the feet can no longer reach the floor.5 So the goal is not maximum height but a seat close to knee level with both feet planted.
A practical height rule
Aim for a finished seat height between measured knee height and about 1 inch above it, then confirm both feet rest flat, as NHS fitting guidance requires.6 Finished seat height equals rim height plus the riser’s listed lift. With a 15-inch rim and a 16.5-inch knee height, a 2 inch raised toilet seat lands at 17 inches, inside the target band. A 5-inch riser on the same toilet would land at 20 inches, well above it.
| Riser lift | Finished height on a 15-inch rim | Finished height on a 16.5-inch rim | Knee heights it suits best |
|---|---|---|---|
| 2 inches | 17 inches | 18.5 inches | 16 to 17 inches (15-inch rim) |
| 3 inches | 18 inches | 19.5 inches | 17 to 18 inches (15-inch rim) |
| 4 inches | 19 inches | 20.5 inches | 18 to 19 inches (15-inch rim) |
| 5 inches | 20 inches | 21.5 inches | 19 to 20 inches (15-inch rim) |
| 6 inches | 21 inches | 22.5 inches | 20 to 21 inches (15-inch rim) |
The table uses two example rim heights, so measure your own rim before reading across. Tall risers still suit tall users and people under a surgical flexion limit, and surgery often sets the target outright. In a UK survey of physiotherapists and occupational therapists, 95% said their health trusts commonly prescribed raised toilet seats after hip replacement.7 Advice on how long to keep that equipment ranged from 6 weeks to life.7 When a surgical team sets a hip-flexion limit, its height target overrides any general rule.
If several people share one toilet and most of them need more height, a permanent fixture change can be the better system. The comparison of comfort height toilets covers that trade-off.
For most households, the best raised toilet seat is the smallest lift that brings the seat to knee level, not the tallest one on the shelf.
Putting the published figures on one scale shows the gap clearly. Mean knee height for women over 65 is about 14.9 inches, and the fifth percentile is about 13.0 inches,5 while accessible toilet seats start at 17 inches.2 The highest seat in the classic lab study, 115% of knee height, works out to about 17.2 inches for the mean older woman.4
Step 2: Match the Seat to an Elongated or Round Bowl
Bowl shape decides whether a riser sits fully supported on the rim or overhangs it. A raised toilet seat for an elongated toilet is longer front to back than a round-bowl model, and many products fit only one shape. An elongated bowl is an oval toilet bowl that extends farther forward than a round bowl, which gives more sitting room at the front.
The front edge matters most, because a person slides forward and leans over the feet to stand, which puts most of their weight on the front of the seat. If an elongated riser hangs past the front of a round bowl, that unsupported plastic can flex just when the person needs a firm edge to push from.
The opposite mismatch, a round riser on an elongated bowl, leaves the front of the rim exposed and sets the opening farther back, which makes wiping harder. Products sold as universal use adjustable brackets to cover both shapes. Check that the listed fit includes your bowl length, then confirm it on the toilet.
Two more details decide fit on modern toilets. First, many one-piece and skirted toilets have a smooth, rounded rim with no lip under it. A bracket or clamp needs an edge to grip, so check the rim profile you noted earlier against the product’s mounting method. Second, check the back, because a riser that is too long can press against the tank or stop the original lid from opening fully.
A riser that matches the bowl shape turns the front edge into a firm push-off point; a mismatched one turns it into the weakest part of the seat.
Step 3: Choose a Locking Method That Will Not Shift
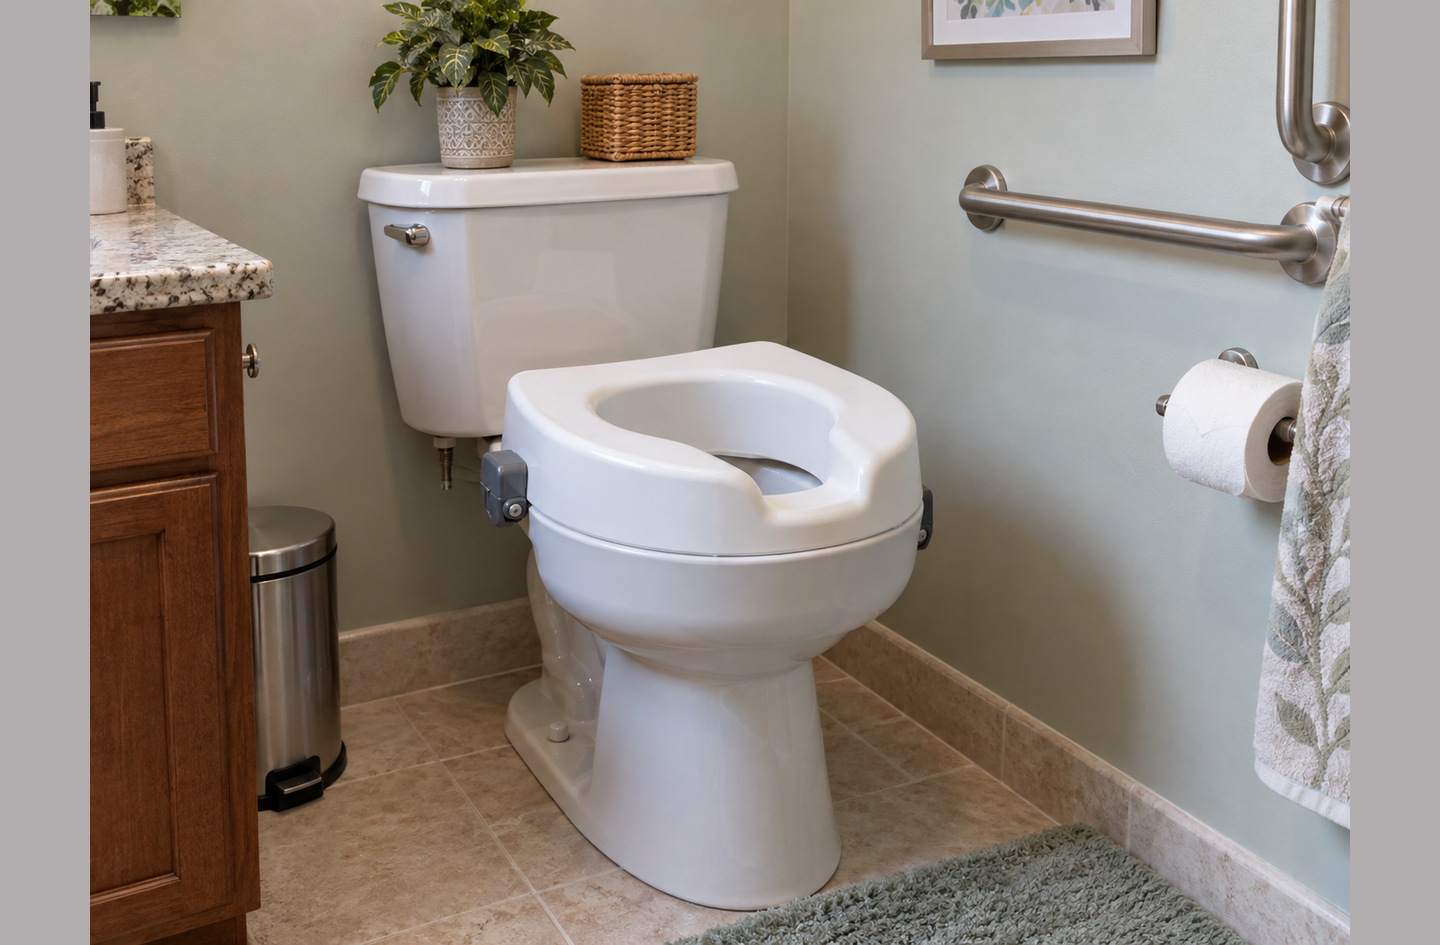
A raised toilet seat must stay fixed under shifting loads, so the locking method matters as much as the height. The hardest moment for any lock is the forward lean before standing, when weight moves to the front edge. A side transfer adds a sideways push on top of that. A lock that resists only downward weight can still slide, tip, or rotate.
| Locking method | How it attaches | Tools needed | Best fit | Watch for |
|---|---|---|---|---|
| Front bracket with locking knob | A bracket under the front rim tightens with a hand knob | None | Daily home use on a bowl with a clear front lip | Must be re-tightened after every removal for cleaning |
| Side clamps | Two or more adjustable clamps grip the sides or inside of the rim | None to a screwdriver | Side transfers and heavier users | Each clamp needs a rim edge to bite on; check both sides |
| Friction or wedge fit | A molded underside drops into the bowl opening | None | Short visits and travel | Can lift or rotate when a user pushes sideways |
| Bolt-on hinge replacement | Replaces the standard seat and bolts through the hinge holes | Screwdriver or wrench | Long-term setups for one main user | Smaller lifts; bolts loosen over time and need checks |
A raised toilet seat with clamps usually gives the most even hold, because it grips at more than one point around the rim. One NHS trust’s fitting guidance is direct: secure the adjustable brackets to the toilet bowl, and do not use the seat if balance issues or spasms could loosen them.6 That rule points at the real failure mode: a lock rarely fails on the first day but loosens a little with each transfer and each cleaning.
Rock-test any lock before first use: press hard on the front edge, then push firmly left and right, and confirm the seat does not move, lift, or click.
Choose the lock for the hardest load the seat will see, which is the forward lean and any sideways push, not for the easiest one, which is simply sitting still.
Step 4: Decide on Arms, a Lid, and the Opening Shape
Arms, a lid, and the shape of the opening are add-ons, and each one should earn its place by matching how the person actually transfers. Arms change the mechanics the most: the same 2002 review found that using armrests lowered the moments needed at the hip by 50%.3 For someone who pushes up through the hands, that is a meaningful drop in effort.
Arms also take up space: they widen the seat, block a sideways slide from a wheelchair, and can get in the way of a caregiver who needs to stand close. Removable or flip-up arms keep the push-off point for daily use and clear the side when the transfer changes. The trade-offs between fixed and removable designs are covered in detail in the guide to raised seats with handles.
Seat-mounted arms load the same rim clamps that hold the seat in place. A separate toilet safety rail frame sends the push-off load to the floor or the toilet’s bolts instead. That matters for heavier users and anyone who pushes hard on one side.
Lid and opening shape
A raised toilet seat with lid closes like a regular seat. That keeps the bathroom from looking like a clinic, which matters for dignity and for whether the seat stays in use. Treat the lid as a cover only, never as a backrest, and check that it opens fully without hitting the tank.
The opening shape affects hygiene: a front cut-out makes wiping easier for people with limited hip bending. A larger or rear-access opening helps when a caregiver assists with cleaning. A closed, round opening is easiest to keep clean but gives the least room.
Add arms when the person pushes up through the hands on a front-facing transfer; choose removable arms, or none, when the approach is sideways or a caregiver needs room.
Step 5: Check Weight Capacity and Bariatric Fit
Weight capacity is a tested rating printed on the product, and it should sit comfortably above the user’s body weight. Ratings differ by design, and one NHS trust lists a maximum weight limit of 180 kg (about 397 pounds) for the raised seat it issues to patients.6 That is one product’s limit, not a standard, so read the label on the seat you are buying.
Body weight is not the whole load: a drop onto the seat at the end of the descent adds an impact, and the clamps take it at an angle. If the person tends to drop, choose a rating with clear margin and a lock that grips at several points.
Bariatric means designed for higher body weights, usually with a wider seat, a larger opening, and a higher rated capacity. A bariatric raised toilet seat solves the seat’s share of the problem only. The bowl, its floor bolts, and the flange beneath it carry the same load. The same NHS guidance says not to use a raised seat when the bowl or cistern fixtures are loose.6 If the toilet itself rocks on the floor, a licensed plumber should secure it before any seat goes on.
A seat’s weight rating is only as good as the toilet under it, so check the bowl’s footing before trusting the number on the box.
Step 6: Test the Fit, Cleaning, and Stability at Home
A raised toilet seat is ready for daily use only after it passes a short series of checks in the real bathroom, which catch fit problems before they become habits:
- Rock test: press down on the front edge, then push left and right; nothing should shift.
- Feet-flat test: sit fully back; both feet should rest flat with the thighs close to level.
- Stand test: stand up three times using the planned support. Count any rocking starts or reaches for a sink or towel bar.
- Clearance test: confirm the lid opens, the toilet paper is in reach, and any grab bar is still usable from the new height.
- Cleaning test: remove and refit the seat once, then repeat the rock test straight away.
The cleaning test matters more than it looks. A seat removed for every cleaning gets re-fitted many times a month, so its lock must be easy to tighten fully.
Match the seat to the transfer pattern
The transfer pattern decides which features matter most, so use this matrix to check that the chosen seat suits the way the person actually moves:
| Transfer pattern | Height priority | Lock priority | Arms | Watch for |
|---|---|---|---|---|
| Front-facing, independent | Knee height to 1 inch above | Front bracket or clamps | Optional | Feet lifting off the floor |
| Front-facing with a walker | Knee height to 1 inch above | Clamps at several points | Often helpful | Walker parking space in front |
| Side transfer from a wheelchair | Level with the wheelchair seat | Side clamps | Removable or none | Gap or step between surfaces |
| Caregiver-assisted | Set for the user, not the helper | Clamps at several points | Removable | Room for the helper to stand close |
| After hip replacement | Surgical team’s target | Clamps at several points | Per the surgical plan | Hip bending past the set limit |
Some bathrooms have no wall that can carry a grab bar where the hands need it. In that case a floor-to-ceiling transfer pole can add a fixed hand-hold beside the raised seat. Anchoring to a floor or ceiling is a structural question, so have a qualified installer confirm the surfaces first.
The test that matters is the third stand-up of the day, not the first, so judge the setup by how repeatable it feels.
Common Mistakes When Buying a Raised Toilet Seat
The most common mistake is buying for height alone, and each of the others has an equally simple fix.
Buying the tallest riser available: taller feels safer in the store but can lift the feet off the floor at home, so measure knee height and stay close to it.
Ignoring the bowl shape: product photos look alike, yet an overhanging front edge flexes during the forward lean, so match bowl length to the listed fit.
Trusting a friction fit for daily use: drop-in risers resist downward weight but not a sideways push, so choose brackets or clamps for any long-term setup.
Skipping the re-check after cleaning: a partly tightened clamp is the usual source of a shifting seat, so rock-test the seat every time it goes back on.
Choosing without the user: equipment bought before anyone watches a real transfer can end up in a closet, so observe a transfer and decide together.
What a Good Raised Toilet Seat Fit Looks Like
A good fit shows up as a calm, repeatable transfer: both feet stay flat, and the person stands in one smooth movement without rocking or reaching for the sink. The seat does not move when weight shifts forward or sideways, and the lid, toilet paper, and any grab bar stay usable.
Getting this right is worth the effort, because the gap in this equipment is large. A national cohort study estimated that 5 million older US adults, 42% of those who would benefit, lacked equipment to help with bathing or toileting.8 Over four years of follow-up, 52% of those who needed toileting equipment never received it.8 A correctly chosen seat closes part of that gap at low cost and without renovation.
Recheck the setup whenever something changes: new surgery, a new walking aid, a change in weight, or a new person helping. The right seat for this year can be the wrong seat after a hip replacement. Aging in place is system tuning, not a one-time purchase.
Frequently Asked Questions
What height raised toilet seat do I need?
Aim for a finished seat between knee height and about 1 inch above it, with both feet flat. Measure knee height and rim height, then pick the riser that closes the gap. In lab testing, peak knee moments nearly doubled from a seat at 115% of knee height to one at 65%.4 Too low costs effort; too high costs foot contact.
Is a 2 inch raised toilet seat enough?
A 2 inch raised toilet seat is enough when it brings the seat close to knee height. On a 15-inch rim it finishes at 17 inches, the bottom of the ADA accessible range of 17 to 19 inches.2 Many shorter users need no more than that, while taller users, or anyone under a surgical hip-flexion limit, can need a larger lift.
Will a raised toilet seat fit an elongated toilet?
It fits only if the product lists elongated bowls in its fit range. Measure from the seat bolts to the front of the rim and compare that length with the listing. A front edge that overhangs the bowl can flex during the forward lean, which is the phase where a well-set seat height cuts knee moments by up to 60%.3
Can a raised toilet seat slip off the toilet?
It can, when the lock is loose or the wrong type for the transfer, and friction-fit risers can rotate under a sideways push. One NHS trust that issues seats rated to 180 kg advises against using one if balance issues or spasms could loosen its brackets.6 Rock-test the seat after every refit, and keep a loose toilet out of use until it is secured.
Do I need a raised toilet seat after hip replacement?
Ask the surgical team, because practice varies. In a UK survey, 95% of physiotherapists and occupational therapists said their trusts commonly prescribed raised toilet seats after hip replacement.7 Advice on how long to keep the equipment ranged from 6 weeks to life. The team’s flexion limit sets both the height and the duration.
Limitations and Edge Cases
- The knee-height figures describe Australian women over 65 in a 2018 study. The person using the seat can measure quite differently, so their own measurement always wins.
- The sit-to-stand moment data come from chair studies, and the 1989 lab test used young adults. A toilet rim has no backrest or cushion, so treat the figures as a direction, not a prediction.
- Side transfers from a wheelchair, severe balance problems, and recent surgery change the height and lock priorities; an occupational therapist should set the plan for those cases.
References
Methodology: every figure in this article comes from an independent published source, each link was checked live and matched to the sentence that states the figure on October 6, 2026, and the article was written and reviewed by Home Age Fit’s founder.
- CDC MMWR – Nonfatal Bathroom Injuries Among Persons Aged 15 Years and Older, United States, 2008. Morbidity and Mortality Weekly Report, Vol. 60, No. 22, June 10, 2011.
- U.S. Access Board – Guide to the ADA Standards, Chapter 6: Toilet Rooms (2010 ADA Standards, section 604.4, seat height).
- PubMed – Janssen WG, Bussmann HB, Stam HJ. Determinants of the sit-to-stand movement: a review. Physical Therapy, Vol. 82, No. 9, September 2002.
- PubMed – Rodosky MW, Andriacchi TP, Andersson GB. The influence of chair height on lower limb mechanics during rising. Journal of Orthopaedic Research, Vol. 7, No. 2, 1989.
- PubMed Central – Blackler A, Brophy C, O’Reilly M, Chamorro-Koc M. Seating in aged care: Physical fit, independence and comfort. SAGE Open Medicine, January 2018.
- Kingston and Richmond NHS Foundation Trust – Raised toilet seat, patient information leaflet, current version.
- PubMed Central – Smith TO, Sackley CM. UK survey of occupational therapist’s and physiotherapist’s experiences and attitudes towards hip replacement precautions and equipment. BMC Musculoskeletal Disorders, May 2016.
- PubMed Central – Lam K, Shi Y, Boscardin J, Covinsky KE. Unmet Need for Equipment to Help With Bathing and Toileting Among Older US Adults. JAMA Internal Medicine, May 2021.
Conclusion
Choosing a raised toilet seat is a fit decision, not a height contest. Measure knee height and rim height, add only the lift that brings the seat near knee level, and keep both feet flat. Then match the bowl shape and choose a lock that resists a forward lean and a sideways push. Check the weight rating, and add arms only when the transfer calls for them. Physics, not popularity, should pick the seat.
For how the seat fits with support points and turning space, see the toilet transfer safety overview. Bring your measurements to an occupational therapist when surgery or balance is part of the plan.