Night lights for seniors work best as a continuous, lit route rather than a single bulb in the hallway. That route belongs within the wider overview of bedroom safety planning, and it begins in darkness, at the moment of standing up from the bed. In 2015 US emergency data, the bedroom was the most common place for older adults’ falls at home (25.0%)1. This guide positions each fixture from the bedside to the toilet, then sets activation, brightness and color so the floor is visible before the first step.
Quick Answer
Where should night lights for seniors go?
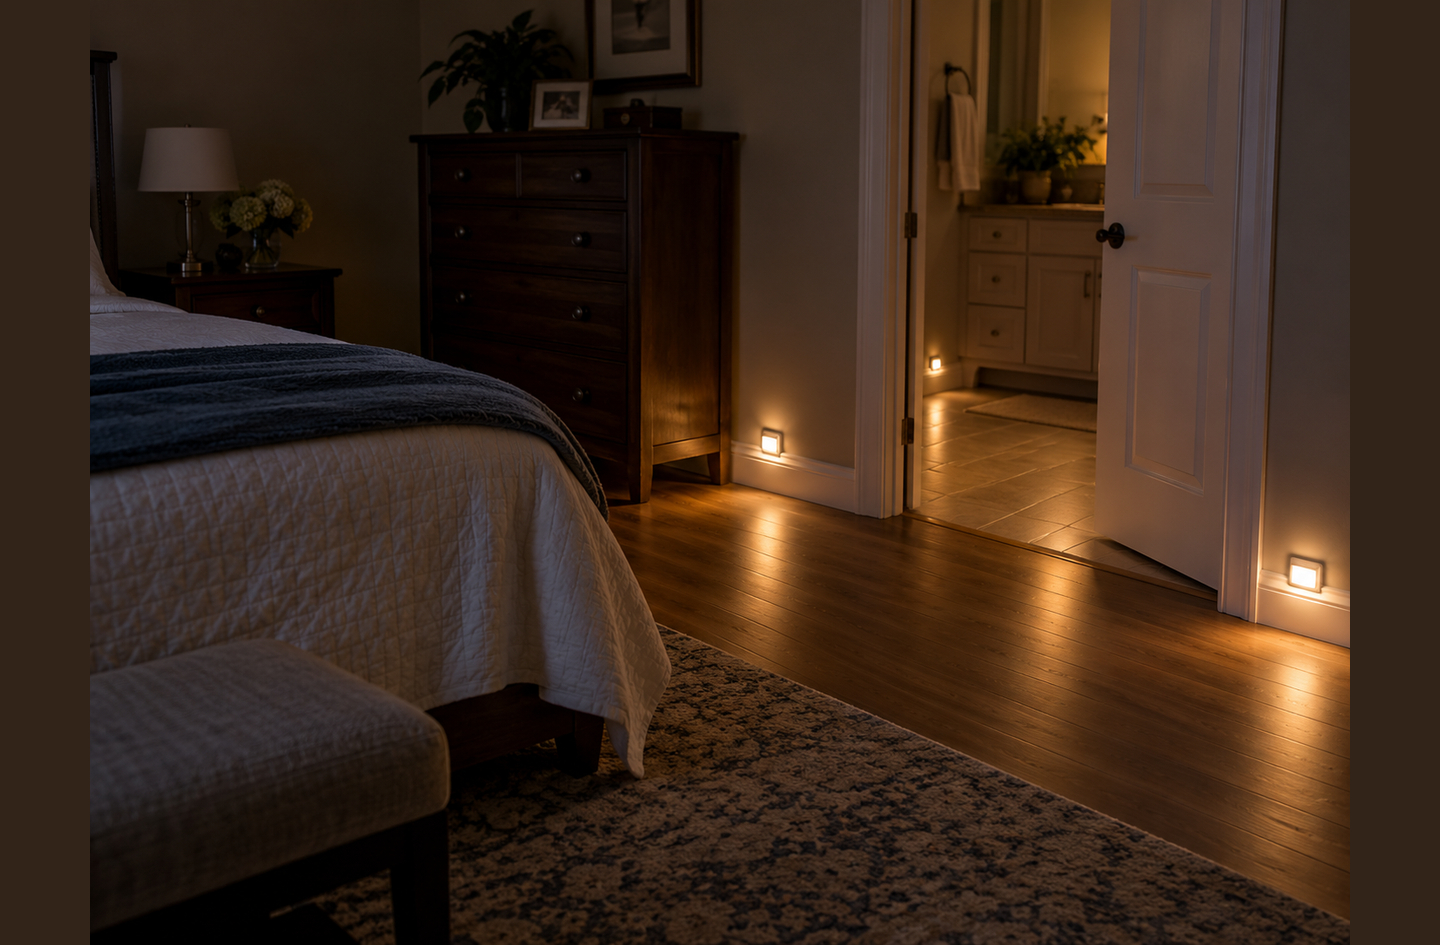
Position them as a continuous chain along the night route: beside the bed, low along the floor path, at the bathroom doorway and near the toilet. Each fixture should already be on before the person reaches it. In a laboratory study of 24 adults aged 65 and older, walking was poorest under plug-in night lights alone. Lines outlining the pathway helped participants at higher fall risk3.
Key Takeaways
- In 2015 US emergency data on adults 65 and older, the bedroom (25.0%), stairs (22.9%) and bathrooms (22.7%) were the most common places for falls at home1.
- Two plug-in night lights alone produced the worst walking of three lighting conditions in a 2011 lab study of 24 adults aged 65 and older3.
- Older eyes recover night vision slowly after bright light. Recovery time rose 2.76 minutes per decade of age in a 1999 study7, so a bright overhead fixture can leave the return walk in relative darkness.
- Blue light at 460 nm suppressed melatonin twice as much as green light at 555 nm8. That favors warm, amber-toned night lights kept below eye level.
- The common misconception is that one brighter bulb solves the problem. Placement, timing and glare control decide whether the floor is actually visible.
Before You Begin: Map the Night Route
Effective night lighting starts with the route, not the product: routes before rooms. Before purchasing anything, identify every location between the bed and the toilet where someone stands, turns, reaches, steps over an obstacle or changes level. Nocturia is waking at night to pass urine, and a 2020 meta-analysis found it is probably associated with about a 1.2-fold higher risk of falls6.
Complete the mapping during one evening walk with the existing lighting, and record:
- Who uses the route: the person, any cane or walker used at night, and whether eyeglasses are part of the routine.
- The exit side of the bed: the side where the feet land, and every object within arm’s reach.
- Every transition in the path: doorways, rug edges, thresholds, furniture corners and any step or staircase.
- Outlets and switches: their locations, their heights, and which ones already power a lamp or a charger.
- The destination: the bathroom door, the toilet, the sink and the light switch inside.
- The return trip: the same pathway in the opposite direction, toward a darker bedroom.
If you are planning for yourself, walk the route at the hour you usually wake and notice where you slow down or reach for a wall. If you are helping a parent, walk it together and ask what feels difficult, rather than deciding on their behalf. Their answers identify the friction points the lighting has to solve. Frequent night trips are also worth mentioning to a physician, since this guide is engineering-informed education, not medical or electrical advice.
A light placed without a route map lights the hallway and leaves the two hardest moments, standing up and finding the toilet, in the dark.
Step 1: Light the Bedside Before the First Step
The first night light belongs beside the bed, on the exit side, directed at the floor where the feet land. The National Institute on Aging recommends positioning night lights and light switches close to the bed2. By the end of this step, the floor beside the bed is visible while the person is still seated.
The bedside matters because standing up is one of the most demanding moments of the trip. Authors of a 2012 study of 48 adults aged 65 and older note that fall risk rises during changes of position, such as standing up or sitting down4. Weight-transfer time is the time required to shift body weight forward onto the feet when rising from a seat. Among fallers in that study, it averaged 1.3 seconds under conventional wall-plug night lights and 0.96 seconds under amber LED lines framing a doorway4. A shorter time means a quicker, steadier rise.
Older eyes also recover slowly from bright light. In a 1999 study of 94 adults from their 20s to their 80s, night vision took 2.76 minutes longer to recover after bright light per decade of age7. That is a reason to keep bedside and path lighting low and steady, rather than switching on a bright overhead fixture.
“Older adults have serious difficulty seeing under low illumination and at night, even in the absence of ocular disease.”
G. R. Jackson, C. Owsley and G. McGwin Jr., Department of Ophthalmology, University of Alabama at Birmingham7
Four placement principles follow from that evidence:
- Reach the switch while lying down: a touch lamp, a bedside switch or a remote control activates the light before sitting up.
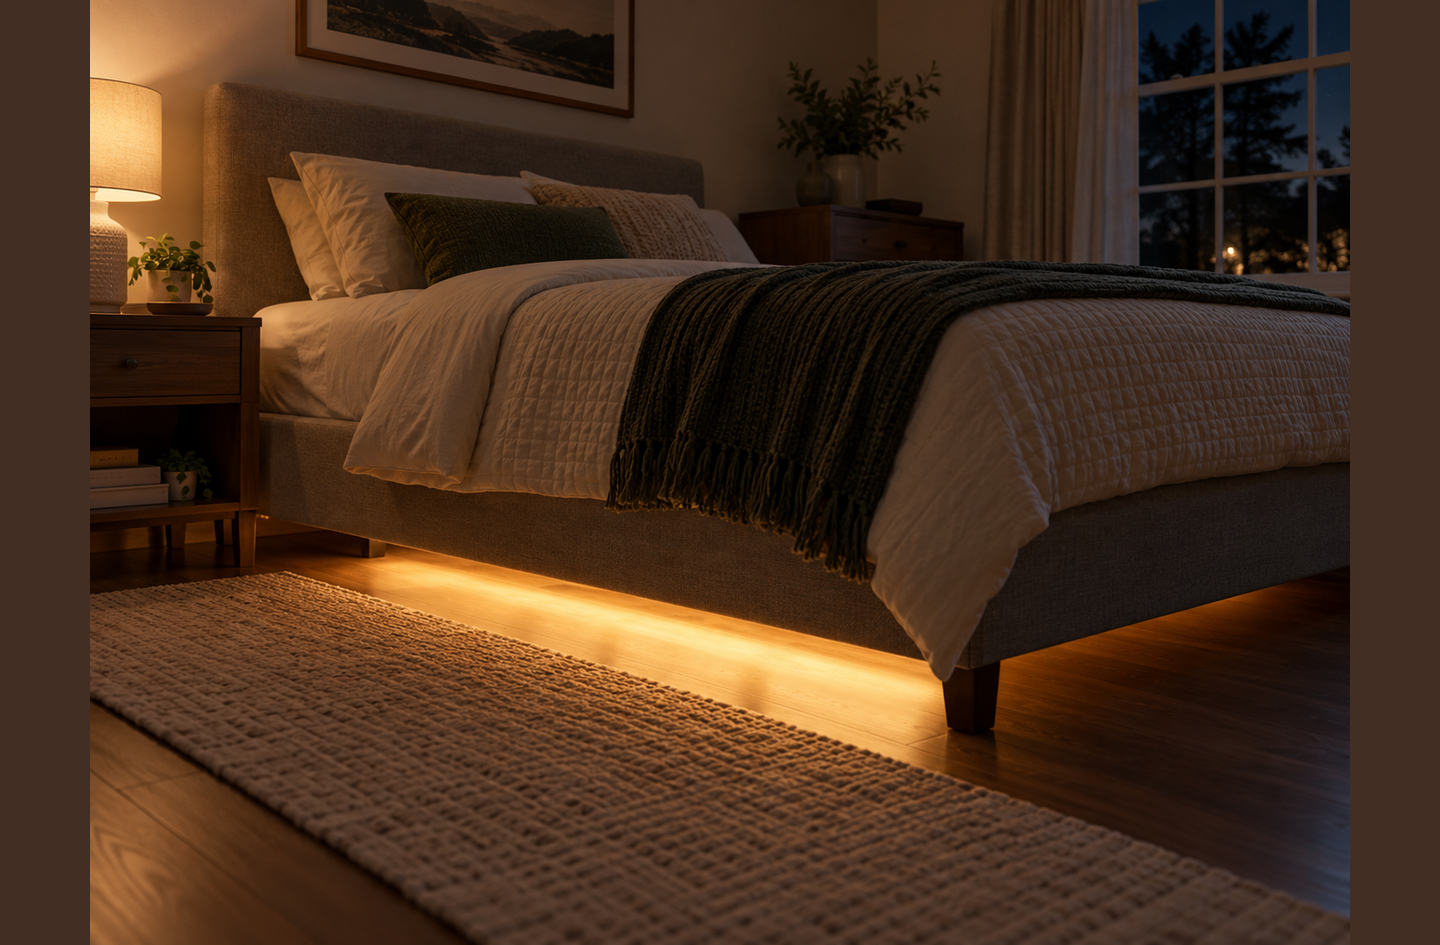
- Light the floor, not the face: an under-bed strip mounted on the frame’s side rail, facing downward, or a low plug-in directed at the landing spot.
- Trigger early with motion sensors: aim the sensor at the bed edge to detect legs swinging out, and check that turning over does not set it off.
- Keep the landing spot clear: slippers, electrical cords and rug edges belong outside the lit area.
A steady handhold beside the bed, such as a floor-to-ceiling transfer pole, should sit inside the lit area so the hand locates it without searching. Bed height also changes what the lighting has to reveal. When the mattress is so high that the feet search for the floor, the lit landing spot is difficult to reach with confidence. A bed positioned so the feet rest flat while seated keeps that spot within easy reach, and an adjustable-height frame is one way to achieve it. The guide to bed steps and trip risk compares that approach with adding a step.
The bedside light does its most important work before anyone walks: it lets a seated person see the floor, the handhold and the first step at once.
Step 2: Mark the Floor Path With Low, Continuous Light
Low fixtures along the floor path should reveal the walking surface and its edges as one continuous line from the bed to the bathroom door. In a 2011 laboratory study, adults 65 and older performed worst under two plug-in night lights alone3. Adding lines that outlined the pathway increased walking velocity among participants at greater fall risk3.
The size of that difference is easy to underestimate. When the room lighting switched off and the night lights came on, higher-risk participants slowed from 85.6 to 75.6 cm/s, roughly 12% slower3. Those night lights measured 0.015 lux at the eye, and the researchers described them as typical of the lights used in older adults’ bedrooms and bathrooms3. Perceptual cues are visual markers, such as lit lines along a floor edge, that identify the walking surface, the walls and the openings.
Translating those findings into placement involves four habits:
- Mount low: use outlets near the floor or strips along the baseboard, so the light reaches the floor rather than the eyes.
- Keep the next light in view: from each fixture the next one should be visible, since a dark gap between pools of light reads as a hole.
- Mark edges and corners: a doorframe, a dresser corner or a rug edge needs light directly on it, not merely nearby.
- Position light ahead of the walker: a fixture behind the person projects their own shadow onto the next step.
The shadow rule reverses with direction: a light positioned ahead on the way to the bathroom is behind the walker on the return. Check both directions, and add a fixture wherever the return trip walks into its own shadow. Rugs deserve similar attention, because a lit rug edge is still a trip edge. The guide on bedroom rugs and slip risk explains whether to remove, secure or replace them.
The goal of the floor path is continuity: the walker should never step from a lit patch into an unlit one.
Step 3: Light the Bathroom Doorway and the Toilet
The bathroom is the destination, so its doorway and the toilet should be lit and visible from the bed. The National Institute on Aging advises leaving a bathroom light on at night or using a night light that turns on automatically in the dark2. A lit target gives the walker a clear direction before the entire pathway is visible.
A 2022 field study followed 15 residents aged 75 and older on night trips to the bathroom in their own homes. Of them, 80% already had plug-in night lights5. Five plugged night lights inside the bathroom and left the door slightly open, so they could see the route from bed5. Participants walked more smoothly with a destination-based LED strip system than with their usual night lights, although their anxiety scores did not differ5.
Destination-based lighting is lighting that marks the place a person is walking to, such as the bathroom doorframe or the toilet, rather than only the path. In practice:
- Frame the doorway: a light at the bathroom door, or a strip along the frame, visible from the bed.
- Light the toilet base: a low light beside or behind the toilet shows the seat edge and the floor in front of it.
- Light the sink if hands get washed: a small light near the vanity avoids switching on the bright overhead fixture.
- Keep plug-ins away from water: outlets near a sink or tub should be ground-fault protected. If they are not, that is a job for a licensed electrician.
When the bathroom is far from the bed, light alone cannot shorten the trip. For some households, a bedside commode placement removes the longest part of the night walk. That decision is best made with an occupational therapist, who can look at the person and the room together.
If the bathroom door is dark from the bed, the walker starts the trip without a target, and every other light on the path has to work harder.
Step 4: Light Any Stair or Step on the Route
When a stair, a step-down or a raised threshold sits on the night route, each change of level needs its own lighting at the top and bottom. Stairs were the second most common location for falls at home among adults 65 and older in 2015 US emergency data (22.9%)1. The National Institute on Aging suggests motion-activated plug-in lights for stairwells and pathways2.
Light the top landing first, because a misjudged edge there leads directly into a descent. Low step lights mounted on the wall reveal the edge of each tread without shining into the eyes. Each edge should also contrast visibly with its tread, so a lit staircase reads as a series of distinct edges rather than a single slope. If the night route stays on one level, apply the same principle to any threshold or step-down.
The handrail belongs in the same plan. A full-length rail on the side the person holds while descending should sit inside the lit area, so the hand locates it at the first step. Where the existing rail stops short, or there is only one, a licensed contractor can confirm the wall framing before a new rail is installed.
On a night route, stair lighting and a reachable handrail form one decision, not two.
Step 5: Choose How Each Light Turns On
Each light on the route should turn on before the person reaches it, so the activation method follows the zone, not the other way around. The National Institute on Aging names two automatic options: night lights that turn on in the dark and motion-activated plug-in lights2. Many routes combine both.
Dusk-to-dawn night lights are lights with a photocell that switches them on when the room gets dark and off when it gets bright. Motion-sensor night lights are lights that switch on when a sensor detects movement, then switch off after a set delay.
| Type | Best zone on the route | How it turns on | Power | Watch for |
|---|---|---|---|---|
| Plug-in dusk-to-dawn | Bathroom doorway, toilet, a hallway landmark | Photocell, on all night | Wall outlet | Outlet position decides placement; a lamp or streetlight can keep it off |
| Plug-in motion | Hallway, stairs, path segments | Motion sensor, timed off | Wall outlet | Sensor must see the person before the step; delay long enough for the return |
| Battery motion | Gaps with no outlet: corners, mid-path, closets | Motion sensor, timed off | Disposable or rechargeable batteries | Light fades as batteries run down; set a replacement routine |
| Under-bed strip | Bed edge and landing spot | Motion sensor on the frame, or a switch | Plug-in adapter or batteries | Route the cable away from the feet; aim the light down |
| Bedside touch lamp | Bedside, before sitting up | Touch or hand switch | Wall outlet | Must be reachable lying down; a bright bulb causes glare |
| Hardwired step or wall light | Stairs, long hallways | Switch, sensor or photocell | House wiring | Installation is work for a licensed electrician |
Timing determines whether motion lights succeed or fail. The sensor has to detect the person early: at the bed edge, at the bedroom door and at the top of any staircase. Set the off-delay long enough to cover the bathroom visit and the return, since a light that times out on the way back leaves the person in darkness. Dusk-to-dawn fixtures suit the destination, because the bathroom door should remain visible from the bed throughout the night.
Outlet access shapes the plan more than any feature list. Standard outlets sit low on the wall, which suits floor lighting, but they rarely sit exactly where the route needs them. Fill gaps with battery-powered fixtures rather than extension cords, because a cord across the pathway creates a new trip edge. A loose outlet should be repaired before a night light is installed, and any new outlet or circuit is work for a licensed electrician.
Plan a backup for power outages. The National Institute on Aging recommends keeping a flashlight by the bed in case the power goes out2. A rechargeable night light that activates during an outage can serve the same purpose.
Choose activation zone by zone: a hand switch at the bed, motion along the path, and an always-on light at the destination.
Step 6: Set Brightness, Color and Glare
Night lights for older adults should reveal the floor and its edges, use a warm color, and keep the bulb itself out of direct view. In a 2003 laboratory study using 6.5-hour exposures, blue light at 460 nm caused twice the melatonin suppression of green light at 555 nm8. Night lights were not tested, but warmer, amber lighting is the reasonable inference for a route used in the middle of the night.
Amber light can still guide the walk effectively. In the 2012 study, amber LED lines at 615 nm framed a doorway at the same very low light level as the wall-plug night lights4. Under them, fallers’ weight-transfer time was similar to the bright ceiling-light condition. The LEDs were positioned so participants could not look at them directly, which eliminated glare from the bright points of light4.
“Lighting can be used to reduce falls risks in older adults without disrupting sleep.”
Mariana G. Figueiro and colleagues, Lighting Research Center, Rensselaer Polytechnic Institute4
Glare is light that reaches the eye directly from a bright source and makes the surrounding scene harder to see. At night its effect is greater, because the eyes have adapted to darkness. These settings keep the floor visible without it:
- Conceal the source: choose fixtures that direct light downward or sideways, mounted below knee height where the outlet allows.
- Prefer warm or amber tones: avoid cool-white and blue night lights anywhere on the route.
- Use dimmable or two-level fixtures: provide enough light to see the floor without waking the entire room.
- Watch reflective floors: polished wood or tile beneath a low fixture reflects light back into the eyes.
- Give the destination a little more light: the bathroom is where hands and feet perform the most careful movements.
Visible edges matter more than raw brightness: a light the walker cannot see directly, aimed at the floor, does the most work.
Step 7: Test the Route at Night, in Both Directions
The final step is a nighttime test by the person who uses the route, with a helper alongside if wanted. Walk the complete route at the actual hour, from the bed to the toilet and back, with any cane or walker. Sensors, shadows and reflections only reveal themselves in darkness, so use this checklist:
- Sit on the bed edge in darkness and confirm the floor is visible before standing.
- Stand and walk, checking that each light activates before you reach it.
- From each fixture, confirm that the next one, the floor edge and any corner are visible.
- Check for glare in both directions, noting any bulb that shines into your eyes.
- Confirm the motion lights stay on through the bathroom visit and the return.
- Walk back and note anywhere your own shadow falls on the next step.
Repeat the test after any change and when the seasons turn, since a streetlight or early dawn can prevent a dusk-to-dawn sensor from activating. If it is a parent’s route, they lead the evaluation. If the walk still feels unsteady in good lighting, tell the person’s physician or an occupational therapist, who can evaluate balance, vision and medications.
A night light plan is finished only when the person who walks the route says it feels easier.
Results: What a Well-Lit Night Route Looks Like
A well-lit night route has four zones, each activated before the person arrives: the bed edge, the floor path, the bathroom doorway and the toilet. The diagram below places the locations of home falls beside what the lighting studies found in each zone. In 2015 US emergency data, the bedroom (25.0%) and bathrooms (22.7%) were two of the three most common locations for falls at home1. The lighting studies then indicate what each zone requires: visual cues during rising4, continuous cues on the path3 and a lit destination5.
Use this table as the completed-route checklist, with one row per zone.
| Zone | Where the light goes | How it turns on | Night-test check |
|---|---|---|---|
| Bed edge | Under the bed frame or low beside the bed, aimed at the landing spot | Hand switch, or motion at the bed edge | Floor visible before standing |
| Floor path | Low outlets or baseboard strips, with the next light always in view | Motion, timed long enough for the return | No dark gaps, no shadow ahead |
| Bathroom doorway | Door frame or the nearest low outlet, visible from the bed | Dusk-to-dawn, on all night | Door visible from the bed |
| Toilet and sink | Low beside the toilet; a small light near the vanity | Dusk-to-dawn or motion | Seat edge and floor visible |
| Stairs, if any | Low step lights, top landing first | Motion, or a switch at both ends | Every edge visible, rail within reach |
If every row passes the night test, the route is lit as a system rather than as a set of separate fixtures.
Common Mistakes With Night Lights for Seniors
The most common mistake with night lights for seniors is treating them as single fixtures instead of one route. In the 2022 field study, 80% of participants already had plug-in night lights5, yet a destination-based system still produced smoother walking5. Owning night lights is not the same as having a lit path and a lit destination.
- One light in the hallway: it leaves the bed edge and the toilet in darkness, so light the entire chain instead.
- Lights at eye level: a bulb in the line of sight creates glare, so mount fixtures low and direct them at the floor.
- Motion sensors that react late: a sensor that detects the person only in mid-room activates too late, so position it toward the bed edge or doorway.
- Cool-white or blue lights: in a 2003 laboratory study, 460 nm blue light suppressed melatonin twice as much as 555 nm green light8. Choose warm or amber tones.
- Planning only the outbound trip: the return walk creates its own shadows, so test both directions.
Each of these mistakes comes from planning the fixture instead of the walk, and a night test at the real hour exposes them.
Frequently Asked Questions
How many night lights does a senior need between the bed and the bathroom?
Enough that the next fixture is always visible from the previous one. Most routes need at least one at the bed edge, along the path, at the bathroom door and near the toilet. In a 2022 field study, five of 15 residents also lit the bathroom itself and left its door ajar to see the route from bed5.
Are motion-sensor or dusk-to-dawn night lights better for seniors?
Neither is better in every location. Motion-activated lights suit the pathway and the stairs, provided the sensor detects the person before the first step. Dusk-to-dawn lights suit the bathroom doorway, which should remain visible all night. The National Institute on Aging mentions both automatic types for night use2.
References
Methodology: every figure in this article comes from an independent published source and links to the page that carries it. The night-route zones are a Home Age Fit synthesis of those sources, written by the founder. The article is engineering-informed education, not medical, electrical or occupational-therapy advice.
- American Journal of Lifestyle Medicine – Moreland BL, Kakara R, Haddad YK, Shakya I, Bergen G. A Descriptive Analysis of Location of Older Adult Falls That Resulted in Emergency Department Visits in the United States, 2015. 2021;15(6):590-597, published online August 2020.
- National Institute on Aging – Preventing Falls at Home: Room by Room, content reviewed September 2022, page updated January 2026.
- BMC Geriatrics – Figueiro MG, Plitnick B, Rea MS, Gras LZ, Rea MS. Lighting and perceptual cues: effects on gait measures of older adults at high and low risk for falls. 2011;11:49.
- Age and Ageing – Figueiro MG, Gras LZ, Rea MS, Plitnick B, Rea MS. Lighting for improving balance in older adults with and without risk for falls. 2012;41(3):392-395, published online December 2011.
- HERD: Health Environments Research and Design Journal – Lu X, Luo Y, Hu B. Exploring Older Adults’ Nighttime Trips to the Bathroom Under Different Lighting Conditions: An Exploratory Field Study. 2022;15(4):167-182.
- The Journal of Urology – Pesonen JS, Vernooij RWM, Cartwright R, et al. The Impact of Nocturia on Falls and Fractures: A Systematic Review and Meta-Analysis. 2020;203(4):674-683.
- Vision Research – Jackson GR, Owsley C, McGwin G Jr. Aging and dark adaptation. 1999;39(23):3975-3982.
- The Journal of Clinical Endocrinology and Metabolism – Lockley SW, Brainard GC, Czeisler CA. High sensitivity of the human circadian melatonin rhythm to resetting by short wavelength light. 2003;88(9):4502-4505.
Conclusion
Night lights work as a system when they follow the walk. They light the bed edge before standing, run continuously along the floor, mark the bathroom door and stay on for the return. Warm, low, concealed sources and early activation matter more than brightness. The trip still begins with standing up in darkness, so a stable handhold inside that first pool of light belongs in the same plan.
Specific choices about wiring, rails and a person’s balance belong with the person, the family and the professionals who can see the home. For how this angle fits the rest of the bedroom, see the overview of bedroom safety planning.