
A wheelchair accessible kitchen is one of the most impactful and least-planned rooms in home accessibility. Standard kitchen design places counters at 36 inches, runs plumbing beneath the sink, and puts appliance controls at the back of each unit – each decision adding friction for a seated user. A 2024 study in the International Journal of Environmental Research and Public Health found that 49% of wheelchair users with spinal cord injury report difficulty preparing even simple meals5. Our accessible kitchen design overview covers the broader picture; this guide focuses on the specific measurements, layout logic, and planning decisions that make each area work.
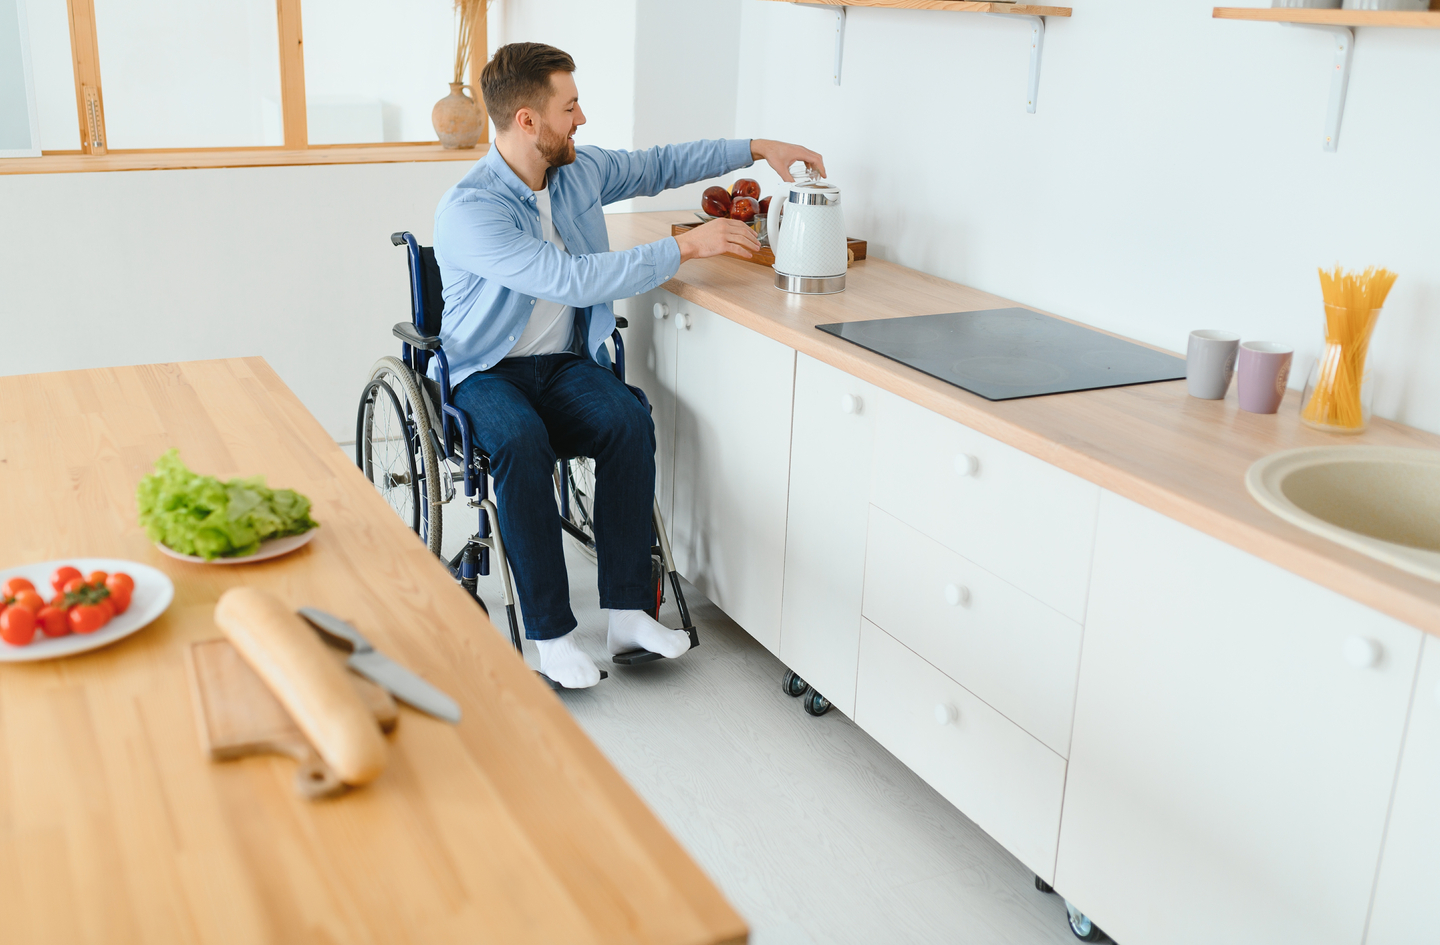
Quick Answer
What does a wheelchair-accessible kitchen actually require?
A wheelchair accessible kitchen needs at least a 60-inch diameter turning circle in the work area1, counters no higher than 34 inches with 27-inch knee clearance underneath2, a 40-inch minimum aisle in pass-through layouts (60-inch in U-shaped designs)3, and storage organized within the 15-to-48-inch side-reach range1. These measurements come from the ADA Standards for Accessible Design and serve as evidence-based planning targets for residential retrofits.
Key Takeaways
- A 60-inch diameter clear floor space is the minimum turning area for a manual wheelchair in a kitchen work zone.
- ADA-compliant counter height for wheelchair use is 34 inches maximum, with knee clearance of 27 inches high and 30 inches wide under any work surface.
- Kitchen aisles need 40 inches minimum for a pass-through layout and 60 inches for a U-shaped design.
- The practical side-reach zone for wheelchair users runs from 15 to 48 inches above the floor, placing most overhead cabinets and floor-level storage outside daily independent use.
- Research found that more than three in four wheelchair users who needed accessible worktops or adjustable cabinets did not have them at home.
Step 1: Map Turning Space and Traffic Routes First
Before specifying a counter height or cabinet position, map where a wheelchair can turn. This step comes first because every subsequent decision flows from whether a wheelchair can pivot and approach each work area without a multi-point reposition. In most home kitchens, this mapping step reveals which constraints matter most before any contractor is hired.
The 60-inch rule and how to apply it
The ADA Standards for Accessible Design require a clear floor space of 60 inches in diameter for a wheelchair to complete a full circular turn, or a T-shaped space within a 60-inch square with arms and stem at least 36 inches wide1. At least one such turning area must be positioned where the person actually works, not somewhere convenient on the drawing. Take a tape measure and mark 60 inches on the floor. Move it through the room. Every place that circle cannot clear appliances, cabinets, and furniture is a friction point worth solving before construction begins.
Turning space and appliance doors interact in ways the drawing often misses. A refrigerator door swept open adds 30 or more inches to the clearance demand. An oven door dropped open creates a low barrier across the aisle. Mapping the turning circle first makes these door-swing conflicts visible before tile is set and cabinets are ordered.
Aisle widths: the minimum that shapes the layout type
ADA §804 sets the minimum aisle width for wheelchair accessible kitchen work areas at 40 inches for a pass-through layout and 60 inches for a U-shaped kitchen enclosed on three contiguous sides3. A standard kitchen aisle is often 36 inches, which leaves a wheelchair several inches short of maneuvering room. Adding aisle width is the highest-leverage structural change in most kitchen accessibility retrofits because it determines whether a wheelchair can rotate, approach the sink, open an oven door, and pass another person without constant repositioning.
Once turning space is located and aisles are measured, a clear-eyed decision can be made about the kitchen layout type: whether to optimize within the existing footprint, expand an aisle by moving a cabinet run, or reconfigure the kitchen shape entirely. A licensed contractor and an occupational therapist can assess which option is structurally feasible for the specific home and user.
Step 2: Set Counter and Work Surface Heights
A standard kitchen counter at 36 inches sits well above a wheelchair user’s comfortable working height. Lowered work surfaces change what cooking looks like from a seated position: no more straining upward, no more working blind over a counter edge that cannot be seen into from a wheelchair. This is the design change most often requested in accessible kitchen retrofits, and the one with the most downstream consequences for plumbing, cabinetry, and structure.
The ADA height standard and what it means in practice
The ADA Standards specify that work surfaces in accessible kitchens must be 34 inches maximum above the floor, with an adjustable range from 29 to 36 inches permitted2. The 34-inch maximum is the height at which a wheelchair user’s arms can work without the shoulder elevation that fatigues over time. For households where both wheelchair users and standing users share the kitchen, a split layout with one lowered section and one standard-height section, or an adjustable-height counter mechanism, lets each person work comfortably. A licensed contractor should assess the structural and electrical requirements before ordering any adjustable unit.
Knee clearance: the requirement beneath the surface
A lowered counter is not usable unless there is space for a wheelchair to approach it from the front. ADA §306 requires knee clearance of 27 inches high, 30 inches wide, and 17 to 25 inches deep under any counter where a seated person is expected to work2. The base cabinet beneath a wheelchair-accessible work section must be either removed entirely or replaced with a recessed unit that provides open leg space. Plumbing and structure go with the cabinet when this modification happens, making it a project for a licensed plumber and contractor.
Toe space matters too. At least 9 inches of height at 6 inches of depth allows a wheelchair to roll close enough to use the surface above. Without adequate toe space, even a correctly lowered counter keeps the user at arm’s length.
Step 3: Design the Wheelchair Accessible Kitchen Sink
The kitchen sink is the most-used and hardest-to-adapt element in most kitchens. A standard deep sink with centered plumbing, an apron front, and back-mounted controls requires reaching, leaning, and managing hot pipes against the legs simultaneously. A properly planned accessible sink resolves these problems through three coordinated changes that must be specified together, not added one at a time.
Rim height, knee clearance, and pipe insulation
The ADA standard sets the wheelchair accessible kitchen sink rim at 34 inches maximum, with knee clearance of 27 inches high, 30 inches wide, and 17 to 25 inches deep2. Under-sink water supply and drain pipes must be insulated, enclosed, or routed to prevent contact with the user’s legs. This is a plumbing specification as well as an ergonomic one, and it belongs in the renovation scope from the beginning rather than as a post-installation add-on.
Offset drain position and shallow basin depth
A centered drain forces the trap and supply lines directly into the knee clearance space. An offset drain, positioned toward the back or corner of the basin, routes the pipe to the side of the knee space rather than through it. A shallow basin of 5 to 6 inches allows the user to work inside the sink without the basin wall blocking reach to the bottom. These two details are among the most frequently overlooked at the planning stage and the most costly to correct after installation, because changing a drain position after tile is set may require cutting the finished floor.
When specifying a wheelchair accessible kitchen sink cabinet, confirm that the drain offset and shallow basin are built into the fixture selection before ordering. A standard undermount sink in a modified cabinet often still has a centered drain that requires rerouting.
Faucet controls: position and operating force
ADA §309 requires faucet controls operable with one hand and no more than 5 pounds of operating force1. Lever-style and single-handle controls meet this standard; round knobs that require grip and rotation do not. Front-mounted or side-mounted controls, rather than the standard rear position, bring the faucet within easy reach from a seated position without requiring the user to lean across the basin. A touchless or motion-sensing faucet removes the control step entirely for users with limited hand strength.
Step 4: Plan Appliance Placement for Seated Reach
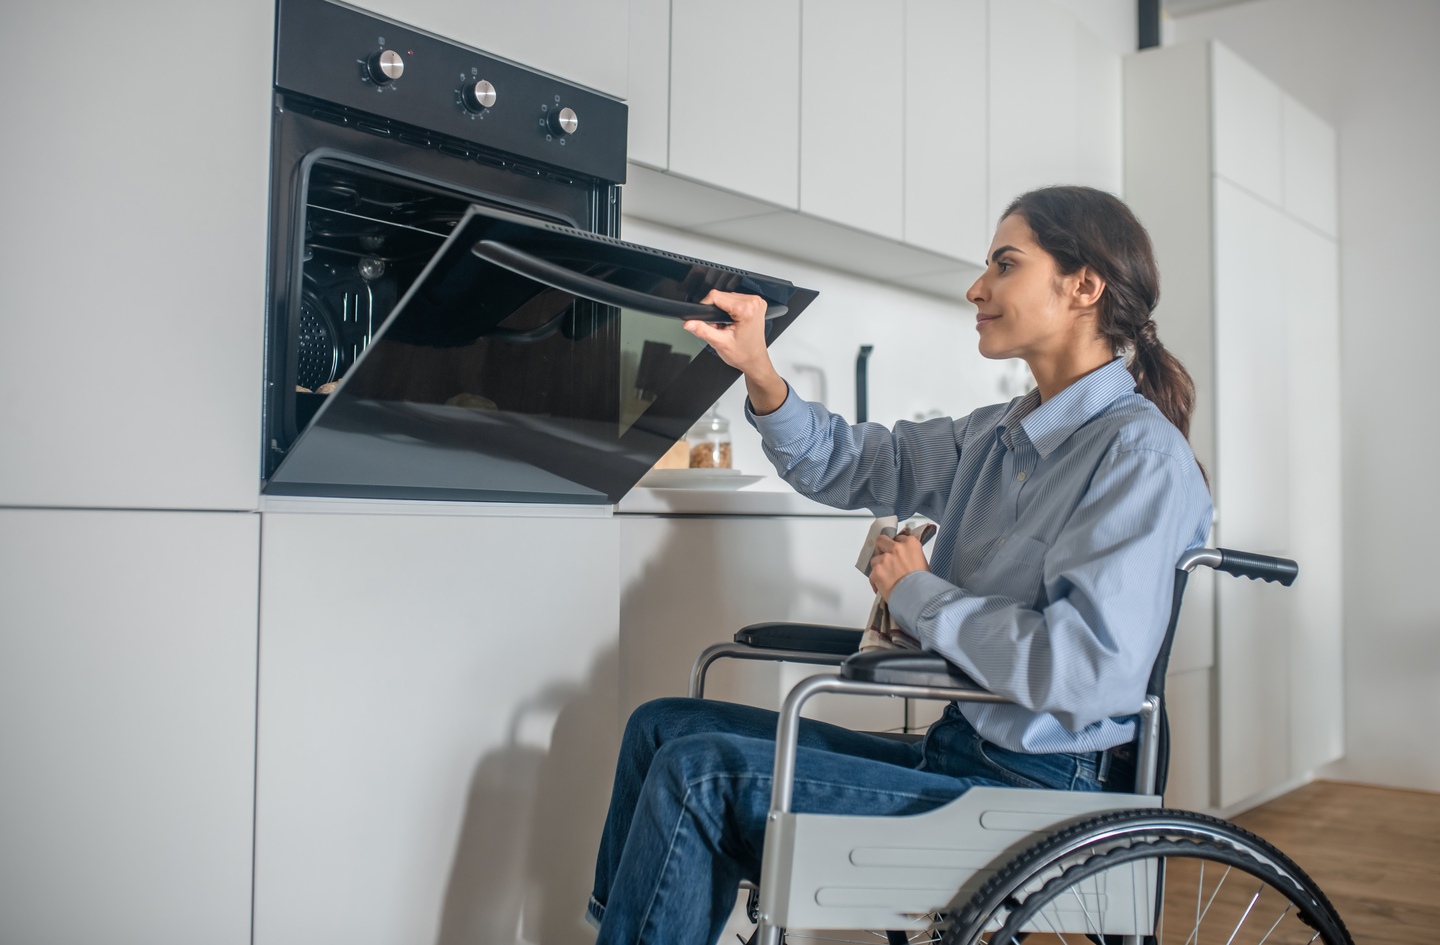
Standard kitchen appliances were designed around a standing user. Refrigerator freezer shelves at 60 inches, range controls at the back of the cooktop, and wall ovens with controls above 50 inches all require reaching that exhausts or excludes a seated user. Accessible appliance placement addresses reach, control location, and approach clearance for each major appliance as a coordinated plan.
The reach zone and where standard appliances fail it
The ADA reach range for wheelchair users is 15 to 48 inches above the floor for both forward and side reaches when the approach is unobstructed1. A standard refrigerator freezer shelf sits at 54 inches or higher. A conventional wall oven positions controls above 48 inches. A gas or electric range with rear-mounted controls requires a forward reach of 20 or more inches over an active cooking surface, placing the user’s arm over heat while seated below the panel. Each of these exceeds the reach zone and adds physical effort and risk to daily cooking.
Refrigerator: French-door and counter-depth configurations
French-door refrigerators with bottom freezer drawers keep the most-used fresh-food section accessible between 15 and 60 inches for most of the cabinet depth. Counter-depth models project only to the depth of adjacent cabinets, reducing the forward reach required to access back shelves. Side-by-side refrigerators split the freezer vertically, keeping some frozen items accessible, but their full-depth design typically makes back shelves unreachable from a wheelchair. French-door counter-depth models are generally the most accessible configuration for a user approaching from the front.
Cooktop: smooth-top with front or side controls
A smooth ceramic or induction cooktop, mounted at accessible counter height with knee clearance underneath, eliminates the raised burner grid that makes a standard gas range difficult to manage from a seated position. Controls located at the front edge keep every burner setting within the reach zone and remove the need to reach over active heat. An induction cooktop offers an additional consideration: the surface between cooking zones does not heat, which reduces the consequence of incidental contact from a position where pulling back quickly requires more effort than when standing.
Oven and microwave: position over type
A wall oven mounted with its door opening at counter height, or a drawer-style oven, allows a wheelchair user to pull out a rack and slide a dish laterally onto an adjacent surface rather than lifting it straight up from a floor-level oven. A clear counter section at the same height as the open oven rack should be within 15 inches to one side. A microwave mounted at counter height with front-panel controls provides a heated food access point without the overhead reach an over-range unit requires. A licensed contractor should verify structural support and electrical access for any wall-oven height change before finalizing the position.
Step 5: Reorganize Storage Within the Reach Zone
Standard kitchen storage is built for standing users: overhead cabinets run to 7 feet, base cabinets require bending to reach the back, and corner units demand a twisting reach around the door. For a wheelchair user whose practical reach zone runs from 15 to 48 inches above the floor, most of this storage either requires assistance or goes unused. Reorganizing storage around the actual reach zone changes what independent cooking looks like at each meal.
The reach zone in practice: what fits where
The 15-to-48-inch side-reach range means that lower wall cabinet shelves, drawer units at counter level, and pull-out base cabinet trays are all accessible1. Upper cabinets typically start at 54 inches above the floor, which exceeds the reach ceiling by 6 inches. The planning principle: identify the 20 items used daily and locate all of them below 48 inches. Items used occasionally can remain higher; items used rarely should be removed to reduce the physical temptation to reach for them.
Pull-out drawers, rollout trays, and lever hardware
Full-extension pull-out drawers let a wheelchair user access the back of a base cabinet from a frontal approach, eliminating the deep forward lean that standard fixed-shelf cabinets require. Rollout trays in lower cabinets work similarly for pots and pans. Drawer-style dishwashers bring dish loading and unloading into the reach zone. Cabinet hardware matters throughout: lever-style pulls or D-ring handles open with a light single-hand pull, while recessed finger-pulls require grip and wrist extension that fatigue quickly at repetitive use. These wheelchair accessible kitchen cabinets details add up across every meal.
Corner storage and open shelving options
Corner base cabinets are among the least accessible storage areas in any kitchen. A standard lazy-Susan spinning unit requires reaching around the door frame. A half-shelf pull-out brings items forward and into view from the front. If corner storage is a necessity, a licensed kitchen designer can specify which hardware systems work for the specific cabinet opening size and wheelchair approach direction. A right-side approach configuration does not work for left-side approach without different hardware.
Open shelving in place of upper cabinet doors removes the door-swing demand and keeps contents visible from a seated position. Open shelving also makes it faster to scan and locate items without opening multiple doors – relevant for wheelchair accessible kitchen cupboards where reaching to open overhead doors repeatedly adds physical cost over the course of meal preparation.
Step 6: Plan the Kitchen Island or Table
A wheelchair accessible kitchen island adds a mid-room work surface at accessible height, provides knee clearance for a close frontal approach, and can serve as a landing zone, prep area, and social seating in one structure. Not every kitchen has the footprint for an island. In a small wheelchair accessible kitchen layout, the island may replace a section of base cabinetry removed to create required aisle width.
Island height, knee clearance, and perimeter aisle
A wheelchair accessible kitchen island designed for seated work needs at least one section at 34 inches or lower, with knee clearance of 27 inches high and 30 inches wide on the approach side. If the island also functions as a wheelchair accessible kitchen island with seating on the opposite face, a two-tier design with a lowered section on one face accommodates both users. The perimeter clearance around the island matters as much as the island dimensions: there must be enough clear aisle between the island and each surrounding cabinet run to complete the 60-inch turning circle while appliance doors are open1.
The accessible kitchen table option
A standard dining table at 30 inches provides knee clearance for most wheelchairs when its leg structure does not intersect the approach path. A pedestal table is often more accessible than a four-leg model because knee clearance is continuous around the pedestal base rather than interrupted by corner legs. A wheelchair accessible kitchen table works best when positioned at the edge of the turning space, not in the center of it, so the same floor area supports both meal preparation and dining without competing for the turning radius the other requires.
Common Planning Mistakes to Avoid
The most expensive errors in a wheelchair accessible kitchen renovation happen in the planning stage, not during construction. Correcting a clearance problem after tile is set and cabinets are installed costs far more than measuring correctly in advance.
Mistake 1: Designing for a generic wheelchair rather than the specific user
Wheelchair dimensions vary considerably. A manual chair is typically 23 to 27 inches wide and about 42 inches long from footrest to back. A power wheelchair can be 24 to 30 inches wide and 40 to 48 inches long. Designing a kitchen for a generalized wheelchair user without knowing the actual chair dimensions, the user’s reach preferences, and the specific mobility pattern produces a kitchen that is theoretically accessible but practically restrictive. An occupational therapist’s assessment of the specific person and chair is the most useful investment before any structural planning is committed to paper.
Mistake 2: Lowering one counter without planning the landing zone
A single lowered work surface in an otherwise standard kitchen creates one accessible work point. A complete accessible counter plan identifies every task the user performs and ensures each has an accessible surface nearby. If the microwave is mounted at 34 inches but the only clear counter space is a standard-height run 8 feet away, the accessible appliance creates a new problem: the user must transport hot food to a distant, non-accessible surface. Every landing zone must be at the same height as the task it receives.
Mistake 3: Specifying the sink position before confirming pipe routing
Moving a sink to a new position, or reconfiguring an existing sink for knee clearance, requires rerouting drain, supply, and sometimes vent pipes. In a slab-on-grade foundation, this may require cutting concrete. The structural and plumbing implications of sink relocation should be confirmed by a licensed plumber before any kitchen layout is finalized, not after a cabinet order is placed. This is the single most common cause of mid-project cost overruns in accessible kitchen renovations.
Mistake 4: Skipping a physical mock-up of critical dimensions
A pull-out shelf that extends fully into a tight aisle blocks the wheelchair user attempting to reach the next station. A door swing that clears the counter at 24 inches open but contacts the wheelchair at 30 inches passes the drawing review but fails in use. Before finalizing any layout involving new cabinetry, mock up the key interactions: use cardboard to approximate a lowered counter section, tape on the floor to mark the island footprint, and open a stand-in door to simulate the full swing. These low-cost tests catch real conflicts before irreversible changes are made.
“Most older adults want to stay in their homes, yet rising housing costs and limited options create serious barriers.”
Rodney Harrell, Vice President, AARP Public Policy Institute8
A 2024 AARP survey of 3,090 adults age 50 and older found that 75% want to remain in their current homes as they age, and 39% anticipate needing kitchen modifications8. Yet fewer than 4% of U.S. homes currently include even three basic accessibility criteria: single-floor living, no-step entry, and wide hallways7. The kitchen accessibility gap is structural, not just personal.
| Design Element | ADA Measurement | Standard (non-ADA) | ADA Section |
|---|---|---|---|
| Turning circle (min. diameter) | 60 in (1,525 mm) | N/A | §304.3.1 |
| Counter/work surface height (max) | 34 in (865 mm) | 36 in | §804 / §606.3 |
| Adjustable counter range | 29-36 in (735-915 mm) | Fixed 36 in | §804.3 |
| Knee clearance height (min) | 27 in (685 mm) | Not specified | §306.3 |
| Knee clearance width (min) | 30 in (760 mm) | Not specified | §306.3 |
| Knee clearance depth (min) | 17 in (430 mm) | Not specified | §306.3 |
| Aisle width – pass-through kitchen | 40 in (1,015 mm) | 36 in | §804.3.1 |
| Aisle width – U-shaped kitchen | 60 in (1,525 mm) | 36-42 in | §804.3.2 |
| High side reach (max, unobstructed) | 48 in (1,220 mm) | N/A | §308.3.1 |
| Low reach (min) | 15 in (380 mm) | N/A | §308.2.1 |
| Toe space (min height at 6 in depth) | 9 in (230 mm) | Not required | §306.2 |
What the Finished Kitchen Should Feel Like
The measurements in the table above are starting points; the real target is a kitchen where a user can prep food, reach the refrigerator, fill a kettle at the sink, transfer a dish to the oven, and carry a cup of coffee to the table in one uninterrupted sequence without repositioning or asking for help.
The CDC’s 2022 BRFSS data found that 12.2% of U.S. adults report a mobility disability involving serious difficulty walking or climbing stairs4. Research on wheelchair users specifically documents unmet kitchen adaptation rates above 75% for the most commonly needed modifications6. Those figures represent people adapting daily to kitchens never planned for them, adding physical effort to every meal. A functional accessible kitchen reduces that effort systematically and sustains it over time.
Frequently Asked Questions
What is the standard counter height for a wheelchair accessible kitchen?
The ADA Standards set the maximum accessible work surface height at 34 inches above the floor, with an adjustable range from 29 to 36 inches2. Standard kitchen counters are 36 inches, which exceeds the accessible maximum by 2 inches. For households with both seated and standing users, a split-level counter or motorized adjustable surface accommodates both without locking either user into an uncomfortable height.
How wide do kitchen aisles need to be for wheelchair use?
ADA §804 requires a minimum of 40 inches of clear aisle width in a pass-through kitchen and 60 inches in a U-shaped kitchen enclosed on three contiguous sides3. Standard kitchen aisles are typically 36 inches, falling short of both thresholds. Expanding an aisle by even 4 inches often requires removing or relocating a cabinet run. A licensed contractor should assess the specific wall and cabinet configuration before deciding how much width is achievable.
What appliances work best in a wheelchair accessible kitchen?
The best wheelchair accessible kitchen appliances share two traits: controls within the 15-to-48-inch reach zone, and a door or drawer that opens without blocking maneuvering space1. Specific choices that work well include French-door refrigerators with bottom freezer drawers, front-control smooth-top or induction cooktops at lowered counter height, wall ovens with the door opening at counter level, and drawer-style or counter-height dishwashers. Rear-mounted appliance controls are the most common accessibility failure point in standard kitchens.
What knee clearance does a wheelchair accessible kitchen sink need?
A wheelchair accessible kitchen sink requires 27 inches of knee clearance height, 30 inches of width, and 17 to 25 inches of depth, plus 9 inches of toe space at 6 inches of depth2. Under-sink pipes must be insulated or enclosed to protect the user’s legs from contact. An offset drain routed to the corner of the basin keeps plumbing out of the knee space. A shallow basin of 5 to 6 inches makes reaching the bottom feasible without leaning forward.
Does a wheelchair accessible kitchen island make sense in a small kitchen?
A wheelchair accessible kitchen island in a small layout is only viable if the 60-inch aisle clearance can be maintained on all sides while the island is in place1. In a small wheelchair accessible kitchen layout, this typically requires removing a section of base cabinetry from one wall to create the perimeter clearance the island demands. An occupational therapist or kitchen designer familiar with accessible layouts can run the geometry before any purchase is made.
Limitations and Edge Cases
- All ADA measurements in this guide are drawn from standards written for commercial and government buildings. Residential home modifications are not legally required under the same code, but the measurements are widely used as evidence-based planning targets by occupational therapists and accessibility contractors working in private homes.
- Wheelchair dimensions vary significantly across manual chairs, power chairs, sports chairs, and scooters. The ADA minimums presented here are a planning baseline; a specific user benefits from an occupational therapist’s assessment of their actual chair, mobility pattern, and daily kitchen tasks before any renovation scope is finalized.
- For structural changes including wall relocation, slab cutting, or significant plumbing rerouting, consult a licensed contractor and, where applicable, a structural engineer before finalizing any layout decision based on this guide.
References
- U.S. Access Board – ADA Standards for Accessible Design, Chapter 3: Building Blocks. Sections §304 (Turning Space), §305 (Clear Floor Space), §308 (Reach Ranges), §309 (Operable Parts). Current (2010 ADA Standards).
- U.S. Access Board – ADA Guide: Chapter 6, Lavatories and Sinks. Knee Clearance §306.3; Sink/Counter Rim Height §606.3; Toe Space §306.2. Current (2010 ADA Standards).
- U.S. Access Board – ADA Standards for Accessible Design, Chapter 6: Plumbing Elements and Facilities. Section §804 Kitchens and Kitchenettes (Kitchen Aisle Widths §804.3.1 and §804.3.2). Current.
- Centers for Disease Control and Prevention – Disability Impacts All of Us Infographic. 2022 BRFSS data on U.S. adult mobility disability prevalence (12.2%). Updated July 15, 2024.
- Froehlich-Grobe, K. et al. – “Self-Reported Difficulty with and Assistance Needed by People with Spinal Cord Injury to Prepare Meals at Home.” International Journal of Environmental Research and Public Health, Vol. 21(11), November 2024. DOI: 10.3390/ijerph21111463.
- Hertig-Godeschalk, A. et al. – “Availability and need of home adaptations for personal mobility among individuals with spinal cord injury.” Journal of Spinal Cord Medicine, 2018;41(1):91-101. PMC5810812.
- Harvard Joint Center for Housing Studies – “Housing America’s Older Adults 2023.” December 2023. (Finding: fewer than 4% of U.S. homes include single-floor living, no-step entrance, and wide hallways as a combined set of basic accessibility features.)
- AARP Public Policy Institute – “2024 Home and Community Preferences Survey.” Press release, December 10, 2024. Survey of 3,090 U.S. adults age 50 and older. Quote by Rodney Harrell, Vice President, AARP Public Policy Institute.
Conclusion
A wheelchair accessible kitchen is planned from the floor up: map the turning circle and confirm aisle widths first, then set counter and sink heights with proper knee clearance, then position appliances within the reach zone and reorganize storage to match it. Each step depends on the one before it, and getting the geometry right on paper before any contractor is hired prevents the mid-project corrections that drive cost and delays. An occupational therapist’s assessment of the specific person, chair, and kitchen tasks is the most useful starting point before any structural decision is locked in.
For a broader view of how these decisions connect to daily routes, work zones, and whole-home planning priorities, see the accessible kitchen design overview on how the kitchen fits the wider accessible home system.