
Deciding to replace stair handrail hardware forces four questions the old rail already answered. Can you grip it? Can you reach it? Does it run continuously along the flight? Can it hold your weight if you slip? Our Senior Safety Handrails planning guide is the overview of how a graspable rail fits the wider aging-in-place system; this article drills into the one decision that comes before any trip to the hardware store. Between 2012 and 2021, US emergency departments logged an estimated 2,515,245 stair-related injuries in adults aged 65 and older5.
Quick Answer
When should you replace a stair handrail instead of repairing it?
Replace the stair handrail when the grip falls outside the 1.25 to 2 inch circular range2. Replace it when the top of the grip misses the 34 to 38 inch height band above the stair nosings2. Replace it when brackets wobble on their fasteners, when the rail is not continuous along the flight, or when the assembly cannot resist a 200 pound concentrated load3. Repair fixes cosmetic damage. Replacement is for any failure that reaches the load path.
Key Takeaways
- US emergency departments treated an estimated 2.5 million stair-related injuries in adults 65 and older between 2012 and 20215.
- A graspable circular handrail sits between 1.25 inches and 2 inches in outside diameter2.
- The top of the gripping surface sits 34 inches to 38 inches above the stair nosings2.
- A compliant handrail resists a 200 pound concentrated load and a 50 pound per linear foot uniform load3.
- The old attachment holes rarely satisfy the new grip, the new height, and stud location at the same time, so planning starts with measurement.
What Repair and Replacement Mean for a Stair Handrail
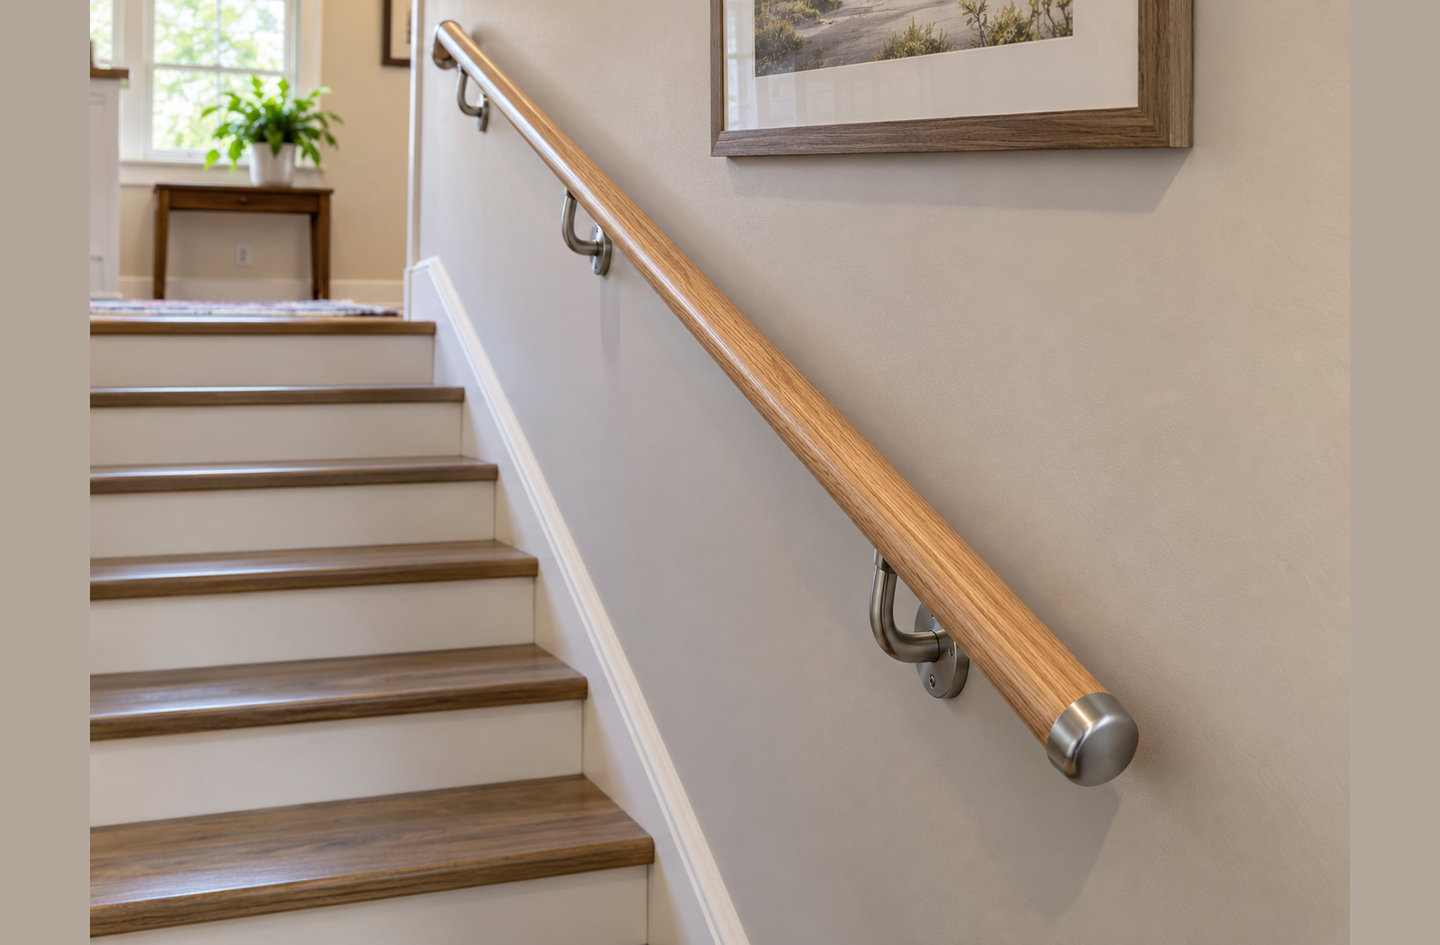
A handrail is the graspable rail that runs alongside a stair at a height your hand can hold while you climb or descend. It is the piece that carries the force of a slip, not a decorative moulding. Repair restores a stair handrail that already meets height, grip, and load specifications. Replacement removes the rail, its brackets, and its fasteners, and installs a new assembly matched to the stair, the user, and the current code.
The two choices sound similar and are not. Repair returns the rail to its original condition. Replacement raises or lowers the condition to meet a new target. If the old rail was never graspable, no amount of refinishing will make it graspable; the only path to a graspable rail is a new one. Confusing the two is how homeowners end up with a reconditioned non-compliant rail and the same risk.
Repair is a cosmetic and surface task
Repair handles the signs that do not touch the load path. Loose paint, a split along the finish grain, a scuffed section near the newel, and a brass end cap that fell off are repair tasks. The rail is still the right dimension, still at the right height, and still mounted into something that will hold a body weight pull. You are preserving a working assembly.
If you are not yet sure whether your handrail is graspable at all, start upstream. Our sibling article on stair handrail height measurement walks through the reach and leverage logic behind the repair-versus-replace call.
Replacement is a load-path and dimension task
The load path is the chain through which force travels from your hand, through the rail, into brackets, through fasteners, into the wall framing. Any failure along that chain is a replacement, not a repair. Four failures reach that chain: a split in the rail at a bracket, a bracket pulling out of the drywall, a fastener in nothing but hollow wall anchor, or a rail diameter you cannot close your hand around. Any one of them means the chain is wrong. You can refinish a wrong chain and still fall.
Replacement is also the correct answer when the rail you have is for a different purpose. A guardrail along a landing is not a handrail; it blocks a fall from an edge. For how the two differ and why swapping one for the other is a replacement rather than a repair, see our handrail versus guardrail comparison.
Six Signs to Replace Stair Handrail Hardware
Six observations move a stair handrail from repair into replacement. Each one is a single, measurable property that costs nothing to check with a tape measure, a torch, and a honest hand grip. If one is true, replacement is on the table. If two or more are true, repair is no longer the lower-risk choice.
- The grip is wrong. A compliant circular handrail has an outside diameter between 1.25 inches and 2 inches2. A rail outside this range cannot be closed by a typical adult hand firmly enough to arrest a slip.
- The height is wrong. The top of the gripping surface sits 34 to 38 inches above the stair nosings2. Below 34 inches the user bends; above 38 inches the user reaches up and loses leverage.
- The brackets wobble. A bracket that moves under hand pressure is not fastened into framing. The fastener is in drywall, lath, or a toggle that spins when loaded.
- The rail is not continuous. A graspable rail should run without interruption along the full flight so the hand never has to release the rail mid-stair.
- The rail is damaged. A split at a bracket, a loose joint, a cracked finial, or soft rot inside the end cap all signal the member can no longer carry 200 pounds of concentrated force3.
- The configuration no longer matches the user. One handrail becomes insufficient when a resident starts to use both hands on the stair, when a walker joins the household, or when the resident’s balance changes.
These six are not opinions. They map onto measurable conditions and specific code sections. The second observation is the one that catches most older rails: a decorative moulding at 42 inches reads as a handrail at first glance and reads as a reach for a hand that needs leverage.
A rail that fails one check often fails two. A bracket pulling out of drywall usually sits on a rail that was never at the right height, because the two decisions were made by one builder on one day, with the same wrong assumption. Treating any single sign as isolated understates the risk.
The Pre-Replacement Checklist: Five Numbers Before You Decide
Before you replace a stair handrail, measure five numbers. Each one is a short, repeatable check, and together they tell you whether the current rail is a repair candidate or a replacement candidate. The checklist works whether you plan to do the project yourself with a licensed contractor or hand the whole thing to a professional.
| Measurement | Where to measure | Target range | Source |
|---|---|---|---|
| Grip diameter (circular) | Across the rail at mid-flight | 1.25 to 2 inches2 | US Access Board |
| Grip height above nosing | Vertically from the stair nosing to the top of the rail | 34 to 38 inches2 | US Access Board |
| Rail continuity | Along the full flight | No gaps along the usable length | IRC R311.7.8 pattern4 |
| Concentrated load capacity | At the weakest bracket span | 200 pound concentrated load3 | IBC 1607.9.1 |
| Uniform load capacity | Along the rail length | 50 pounds per linear foot3 | IBC 1607.9.1 |
Graspability refers to the measurable property that lets a hand close around the rail firmly enough to arrest a slip. It is not a general sense that the rail feels nice. The two markers of graspability are the grip diameter and the clearance to the wall; both are measurable, and both have target ranges that come from accessibility and building codes rather than product marketing.
Measuring the grip
Hold the rail with your dominant hand near the middle of the flight. If your thumb and your middle finger meet when you close around it, the rail is probably within the 1.25 to 2 inch grip range2. If your hand slides on the surface without a firm close, the rail is too thick or too shaped for a reliable grip. Decorative square or ornate profiles often fall into the second category.
Measuring the height
Measure vertically from the stair nosing to the top of the gripping surface at the middle of the flight. The 34 to 38 inch window is the band every current accessibility standard uses2. A rail at 33 inches is low enough to force a user to bend, which transfers more load into the arm and less into the rail. A rail at 40 inches is a reach for a user whose shoulder mobility has changed.
Checking continuity
Walk the flight from top to bottom with one hand on the rail. The hand should never have to release the rail along the usable length. A newel post that interrupts the grip, a terminated return at mid-flight, or a bracket that catches the hand all break continuity. A broken grip at the moment of a slip is the moment the rail stops being a handrail.
Why the Old Mounting Points May Not Fit the New Rail
Most replacement surprises start at the brackets. The old attachment points were chosen for the old rail at the old height, and almost nothing about that geometry transfers directly to a new assembly. A new rail at a new height almost never passes through the same vertical plane as the old one. A new bracket pattern almost never lands on the same studs as the old brackets. Treating the old holes as a template often doubles the time of the project and triples the drywall patching.
Residential wall framing in North America is usually built with vertical studs placed 16 inches on centre, and sometimes 24 inches on centre in some newer construction. A bracket that must land in a stud has only limited positions along the flight, and those positions do not shift when you decide to raise the rail. The result is predictable: the old holes land either on nothing or on the wrong stud for the new rail’s path. Our guide to studs, brackets, and the load path covers the structural fastening logic in depth.
The implication for the budget is concrete. A homeowner who assumes the old holes will carry the new brackets usually underestimates both the drywall repair and the structural blocking work. A plan that treats the stud map as a fresh constraint, drawn before the new rail is ordered, usually finishes faster and with less patch-and-paint at the end.
What to document before you remove the old rail
Take four pieces of information off the old installation before anything comes off the wall. The exact height of the top of the gripping surface at three points: top, middle, and bottom of the flight. The exact centreline-to-centreline distance between each bracket. The fastener type visible at each bracket, and whether it is in a stud or in drywall. The clear distance between the rail and the wall. Those four numbers are the baseline against which every replacement option is sized.
What a stud finder can and cannot tell you
A good stud finder locates framing within an inch under most conditions. It does not tell you whether the stud behind a bracket is a full-length stud, a short cripple above a header, or a strap. A rail that pulls on a cripple can split the cripple from its header. A rail that pulls on a strap can pull the strap off its anchor. The rule for replacement is simple: locate the stud, mark it, then open a small inspection cut to confirm the stud is full-length where the top bracket will anchor. A licensed contractor should sign off on blocking and fastener type for the final assembly.
The Replacement Envelope: Height, Grip, Continuity, and Load
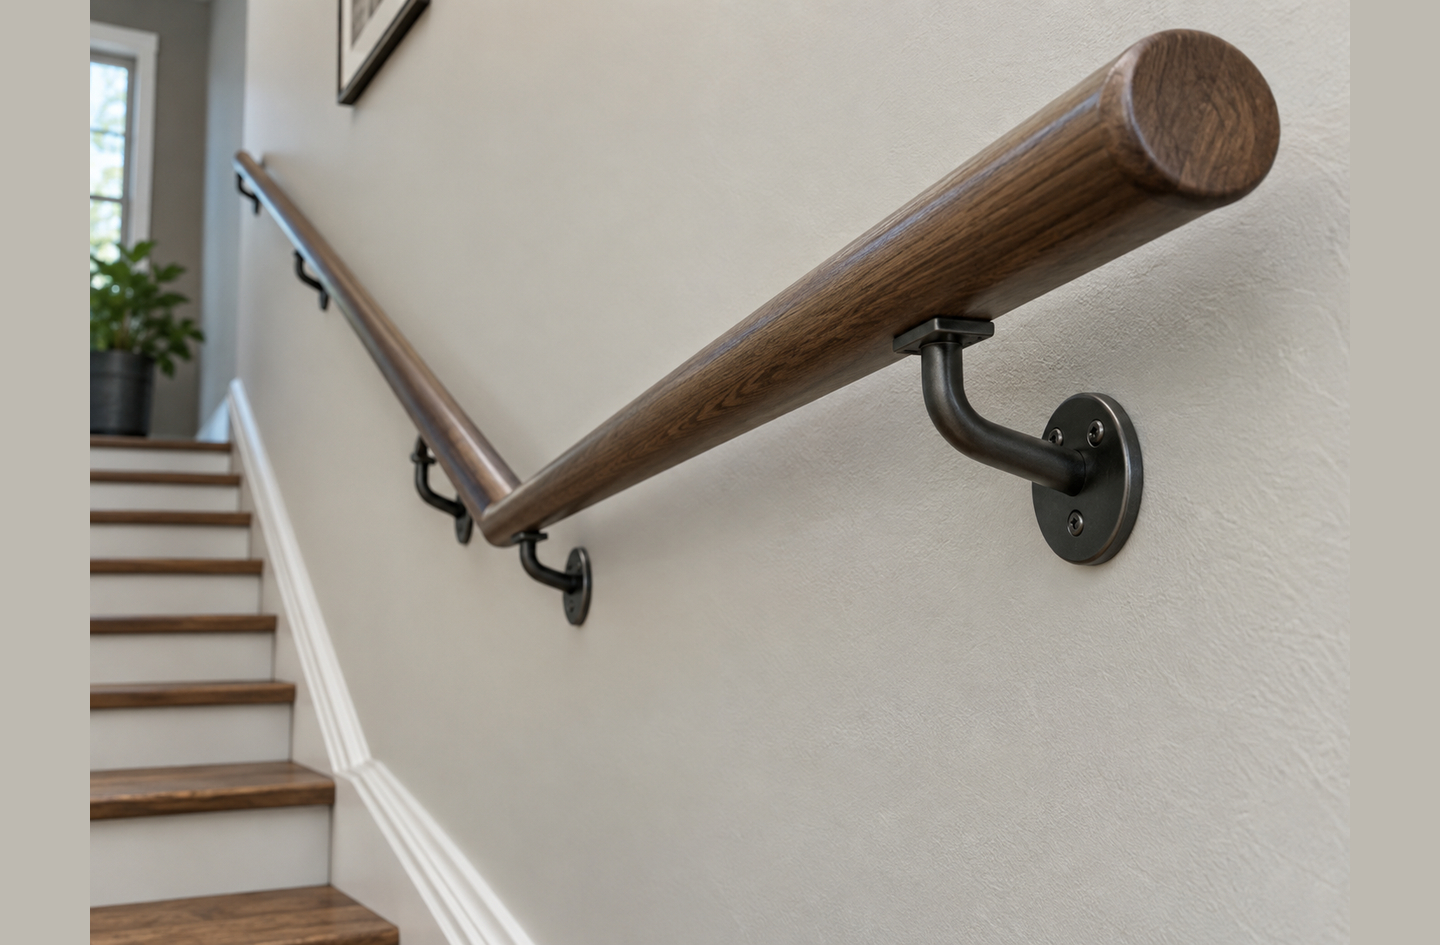
Every replacement handrail has to fit inside a specific envelope. Four independent constraints bound that envelope. Three come from accessibility standards and the building code; the fourth comes from the human body. A replacement that misses any one of them is not a replacement, it is a different problem on the same wall.
Continuity means the rail runs without interruption along the full length of the stair flight, so the hand never has to let go while climbing or descending. Continuity is the quiet constraint. It is the one that disappears when a run of rail is spliced at a landing and the splice catches the hand. For how the applicable residential rules fit together, our sibling article on residential stair handrail code organizes the questions a homeowner should verify locally before building.
Why the four variables are coupled
The four envelope variables are coupled. A grip change usually drives a bracket change. A height change usually drives a bracket pattern change. A continuity constraint can force a different wall termination at the newel. A load capacity requirement sets the minimum fastener engagement. You cannot solve one variable in isolation and expect the other three to co-operate. The planning order that works: height first, grip second, continuity third, load last, because the load calculation depends on the final fastener pattern that the other three set.
What the envelope does not decide
The envelope does not pick the material, the finish, or the colour of the rail. It also does not decide whether a second rail on the opposite wall is a good idea for your household. Those are decisions a resident, a caregiver, and a qualified occupational therapist can discuss after the engineering envelope is settled. The envelope is a floor, not a design brief.
Common Mistakes When Replacing a Stair Handrail
Replacement projects fail at a few predictable points, and most of them are decided before the first bracket comes off the wall. Each mistake below has a short description and a short remedy, so the pattern is easy to spot in a planning conversation with a contractor.
Mistake 1: Choosing the rail before measuring the stud layout
The rail profile and the bracket style are often the first thing a homeowner picks, because they are the visible part. The stud layout decides whether those brackets can be fastened to framing at the required pattern. Measure the stud map first. Order the rail second. If the two conflict, change the rail or add solid blocking between studs before you order anything.
Mistake 2: Reusing the old holes
Old holes are a cost trap. They are rarely where the new brackets need to be, and patching the old holes while opening new ones increases cost and finish-time without reducing the number of fasteners that end up in framing. Plan the drywall patching as a line item in the project.
Mistake 3: Treating a wobble as a tightening problem
A bracket that wobbles is not under-tightened. It is in the wrong substrate. More torque on a screw into drywall will not create a stud. The remedy is to move the bracket to a stud, add blocking, or replace the fastener with one engineered for the actual substrate behind the drywall and sized for the handrail load from IBC 1607.9.13.
Mistake 4: Skipping the top and bottom return
A rail that ends in open space at the top or bottom of the flight catches sleeves and bags, which pulls the user forward at exactly the moment the user needs the rail. A proper replacement either returns to the wall at both ends or terminates at a newel that does not catch. This is a continuity question, not a decoration question.
Mistake 5: Treating a replacement as a cosmetic refresh
Stair-related injuries in older US adults were not evenly distributed across settings. Among reported upper-extremity fractures with a documented location, 89 percent happened at home5. A replacement decision made as a decorative update, with the dimensional and load checks skipped, is a cosmetic refresh that leaves the risk pattern in place.
“Among patients with UE fractures where the physical location of the injury incident was recorded, 89% occurred at home5.”
Rafat H. Solaiman and colleagues, University of Minnesota Medical School, in Osteoporosis International (2023)
Independent nationwide data cuts the question down to its scale. If replacement is a home-level decision for most older-adult stair injuries, then the replacement envelope matters more than the retail choice between oak and maple.
Frequently Asked Questions
How do I know a stair handrail is the right diameter to grip?
A compliant circular handrail has an outside diameter between 1.25 inches and 2 inches2. Measure across the rail with a tape or a caliper at mid-flight. If the number sits inside that range, the diameter is a repair question. If it sits outside, no refinishing can bring it back inside and replacement is on the table.
What is the correct height for a stair handrail above the stair nosing?
The top of the gripping surface sits 34 inches to 38 inches above the stair nosings2. Measure vertically from the leading edge of a tread to the top of the rail. A reading below 34 inches forces the user to bend; a reading above 38 inches forces a reach. Both reduce leverage during a slip.
Can I replace a stair handrail without hitting a stud?
The handrail must resist a 200 pound concentrated load at any single point3, which is not what a drywall anchor is engineered to carry alone. Reach a stud, add solid blocking between studs, or use fasteners the licensed contractor confirms are engineered for the actual substrate. “No stud behind the drywall” is not an option; it is a reason to open the wall and add blocking.
Does a loose stair handrail always mean replacement?
A loose rail is a replacement candidate when the looseness is in the brackets, the fasteners, or the rail itself. A loose finial on a sound rail at the right height and the right grip is a repair. A rail that wobbles under a firm hand pull is not a repair; the fastener is in the wrong substrate and no tightening will fix that. The required load capacity is 200 pounds concentrated3, which drywall anchors are not designed to carry alone.
How dangerous are stair falls for older adults in the United States?
In 2023, the unintentional fall death rate for adults age 65 and older was 69.9 per 100,000 population, and the rate rose to 373.3 per 100,000 for men age 85 and older1. Falls are the leading cause of injury death in this group. A handrail that fails any one of the four envelope checks sits in the risk path.
Limitations and Edge Cases
- The envelope figures above come from US federal standards and the current International Codes. Local jurisdictions adopt and amend these codes on their own timetable; always verify the version adopted where you build.
- The grip and height ranges in this article assume a typical adult user with ordinary hand size. A resident with reduced hand strength, limited reach, or a different dominant hand may need an occupational therapist’s evaluation before the final selection.
- For the measurement logic that sits upstream of this decision, see our stair handrail height measurement article; for the structural fastening question that sits downstream, see our studs, brackets, and the load path article.
References
Methodology: every figure below comes from an independent published source, and this methodology prioritizes US federal standards, the current International Codes, and peer-reviewed epidemiology as the three independent evidence streams a replacement decision rests on.
- Centers for Disease Control and Prevention, National Center for Health Statistics – NCHS Data Brief No. 532, “Unintentional Fall Deaths in Adults Age 65 and Older: United States, 2023,” Garnett MF, Weeks JD, Zehner AM, June 2025.
- US Access Board – Architectural Barriers Act Accessibility Standards, Chapter 5, Section 505 Handrails (505.4 Height and 505.7.1 Circular Cross Section), 2015.
- UpCodes – International Building Code 2021, Section 1607.9.1 “Loads on Handrails, Guards, Grab Bars and Seats,” International Code Council, 2021.
- UpCodes – International Residential Code 2021, Section R311.7.8.5 Grip Size, International Code Council, 2021.
- PubMed Central – Solaiman RH et al., “Rising incidence of stair-related upper extremity fractures among older adults in the United States: a 10-year nationwide analysis,” Osteoporosis International, 2023.
Conclusion
The decision to replace a stair handrail turns on four envelope checks, not on how the rail looks. If the grip, the height, the continuity, or the load capacity misses the target, replacement is the lower-risk path. If none of them miss, repair preserves a working assembly.
Start with the whole stair system before you order parts. See the Senior Safety Handrails overview for the broader planning context, then bring the four envelope checks to a licensed contractor and, where mobility is changing, an occupational therapist.